


iPhone backups allow you to save and restore your valuable data including photos, messages, and other data across different Apple devices. iTunes (PC) backup and iCloud backup are the two types of backup methods for an iPhone.
All of your photos get backed up whenever you perform a full backup, whether you use iCloud or iTunes backup method. With iCloud, your photos are stored on a cloud server, whereas with an iTunes backup they are stored on a hard drive on your computer.
So what is the best way to backup photos from an iPhone?
- Does Apple backup save photos?
- Where do my photos go when I backup my iPhone?
- How do I know if all my photos are backed up to iCloud?
- What is the best way to back up photos from iPhone?
- Do photos stay in iCloud forever?
- Do photos stay on iPhone if deleted from iCloud?
- How do I backup my iPhone photos to a hard drive?
See also: Why Is My iPhone Backup Size So Large?
Does Apple backup save photos?
Whenever you perform a backup of your iPhone, all of the pictures stored on the iPhone get backed up.
If you have used iCloud backup, you will be able to access your photos from your different apple devices because your photos will reside in a cloud server.
Moreover, you will also be able to see and access your backed-up photos on iCloud by visiting icloud.com.
However, iCloud backup only allows you to backup up to 5GB of data, including pictures, for free. If you need more storage, you’ll need to pay for more storage, or you will not be able to backup your photos.
For this reason, some people prefer using iTunes backup, which allows you to store even large backup files (e.g. lots of photos and videos) provided you have enough hard disk space on your computer. Also, there is no cost involved in iTunes backup.
However, unlike iCloud backup, you can0t see backed-up photos if you have performed an iTunes backup unless you use a backup extractor tool like dr.fone Backup & Restore iOS.
Where do my photos go when I backup my iPhone?
As discussed earlier, there are two methods of backing up pictures on an iPhone. If you use the iCloud backup method to backup your photos, all your photos get uploaded to a remote iCloud server online.
After uploading them to iCloud from your Apple device, you can access and download your photos by restoring the backup from the settings of your iPhone or directly downloading them from icloud.com on your other Apple devices.
On the other hand, if you use the iTunes backup method, you manually backup your data on your PC or Mac by connecting your iPhone to your computer.
After you back up your data using the iTunes method, all your photos will be saved in the backup folder (or the folder that you specify) on your computer.
How do I know if all my photos are backed up to iCloud?
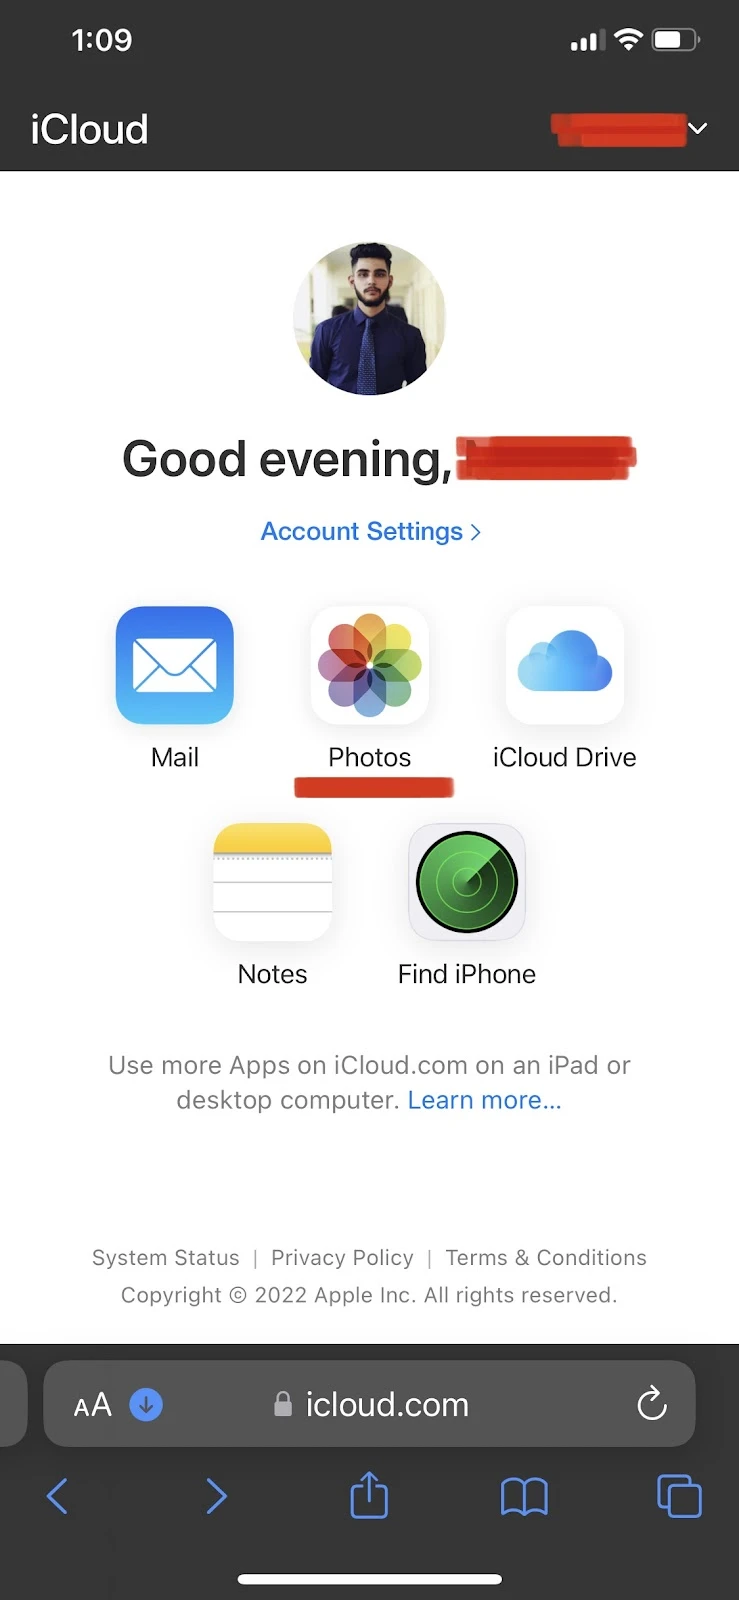
If you have backed up all your photos on iCloud, you can visit the icloud.com website to see whether all your photos have been backed up.
The see your backed up photos, follow these steps:
- Type icloud.com on any browser and sign in with the same Apple ID you used for backing up your photos
- Click or tap on the Photos icon to enter into the photos library
- Here you will see all the photos that have been backed up to the iCloud


What photos are stored in iCloud?
All of the photos that you capture using your iPhone or receive from other devices via Airdrop or applications like Whatsapp are stored in iCloud.
Note that by default, all of your original or full-resolution photos and videos that take up large space are stored in iCloud. In contrast smaller sized (in storage terms) versions of your photos are stored in your iPhone to optimize the storage.
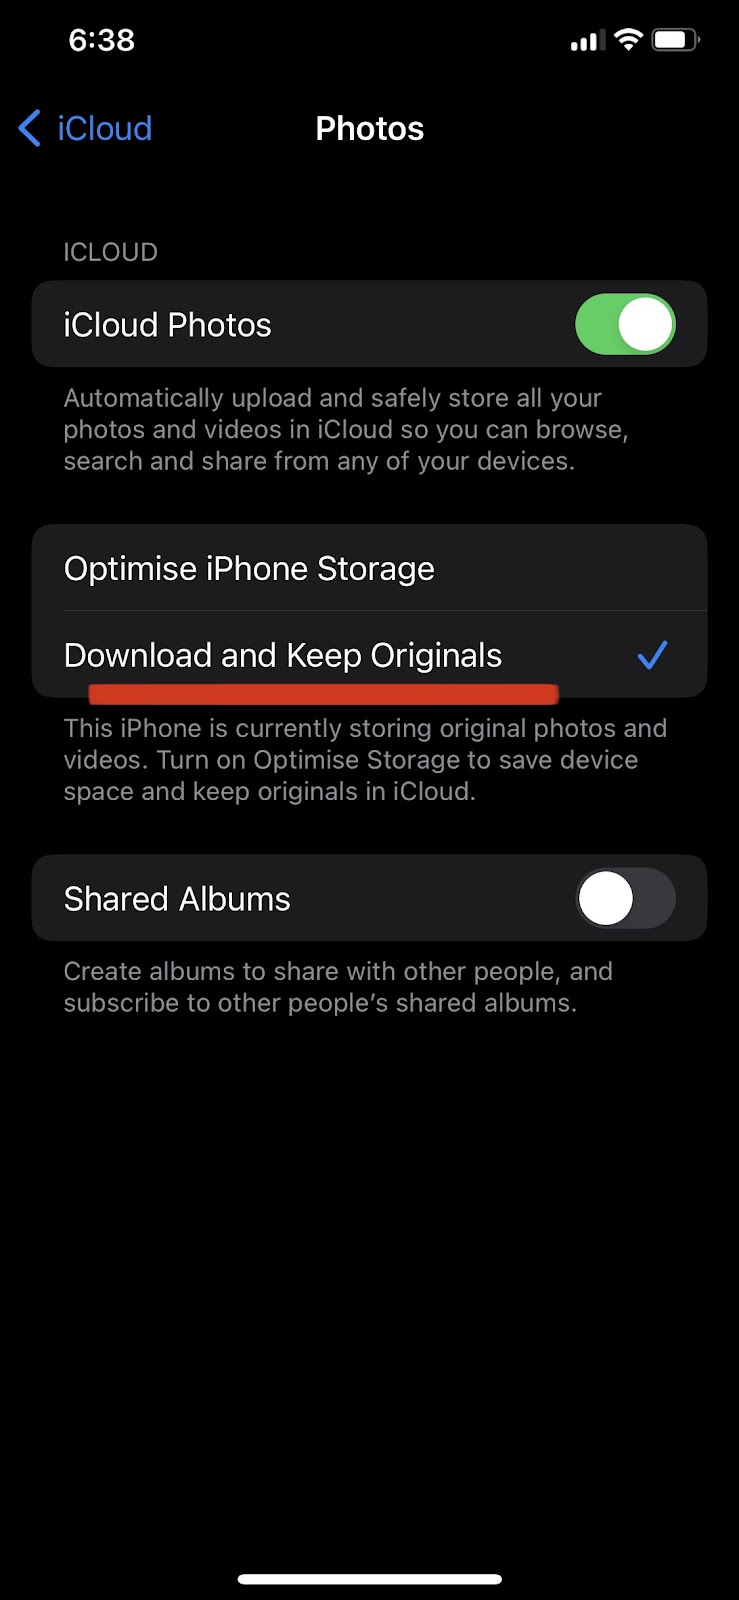
Here’s how to download and keep original, full-resolution photos on our iPhone:
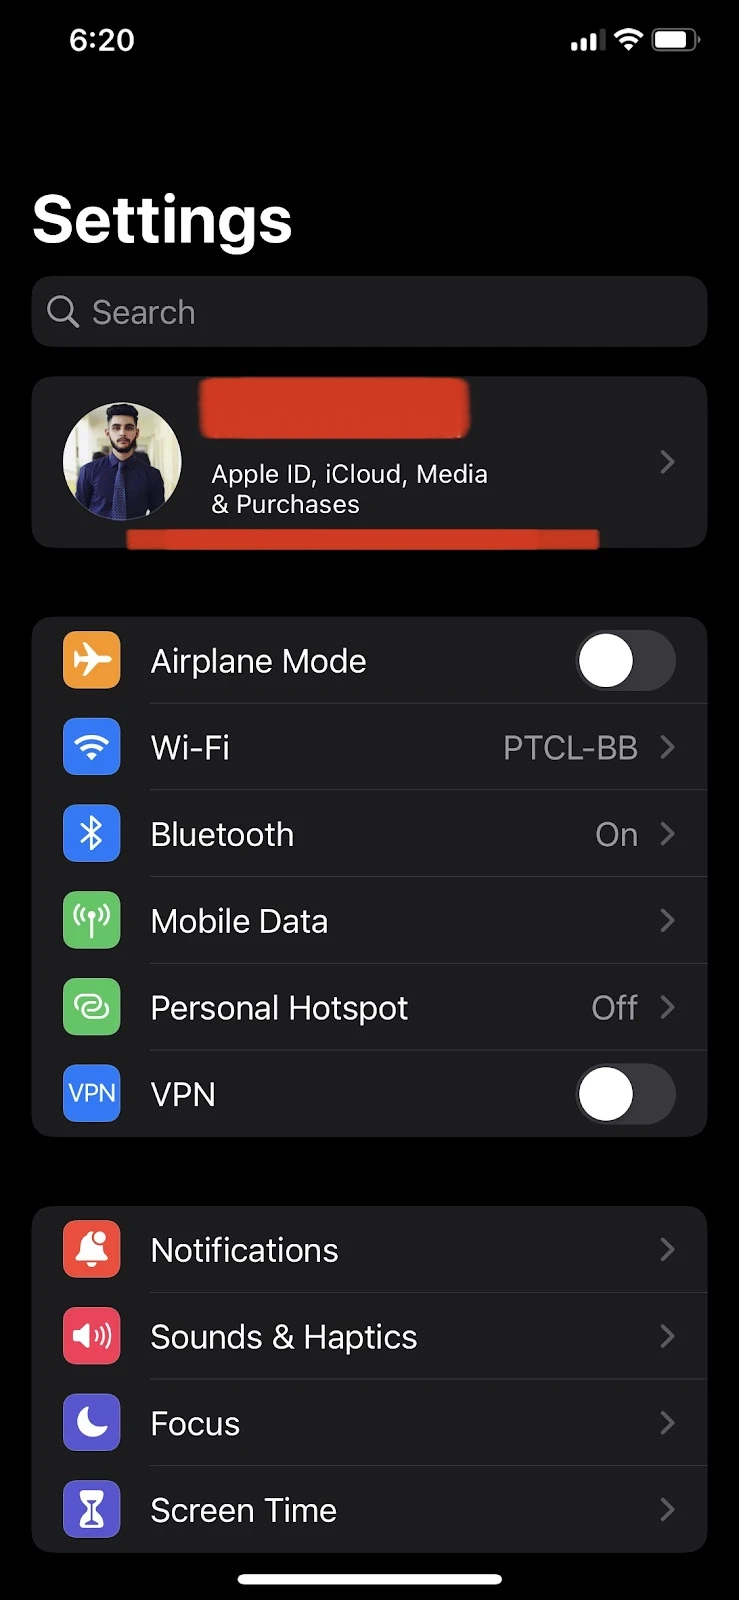
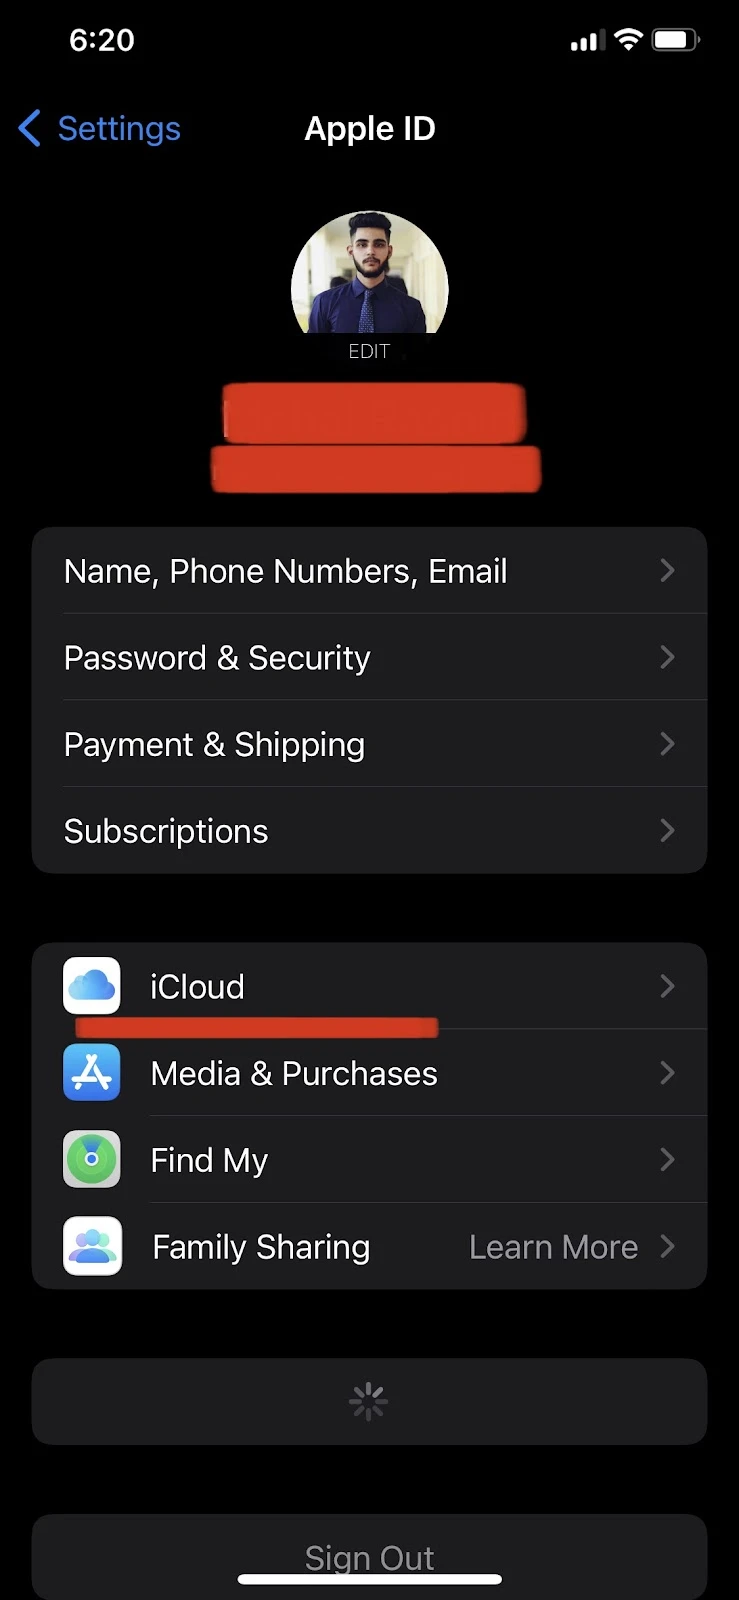
- Enter into Settings > Tap on your name at the top
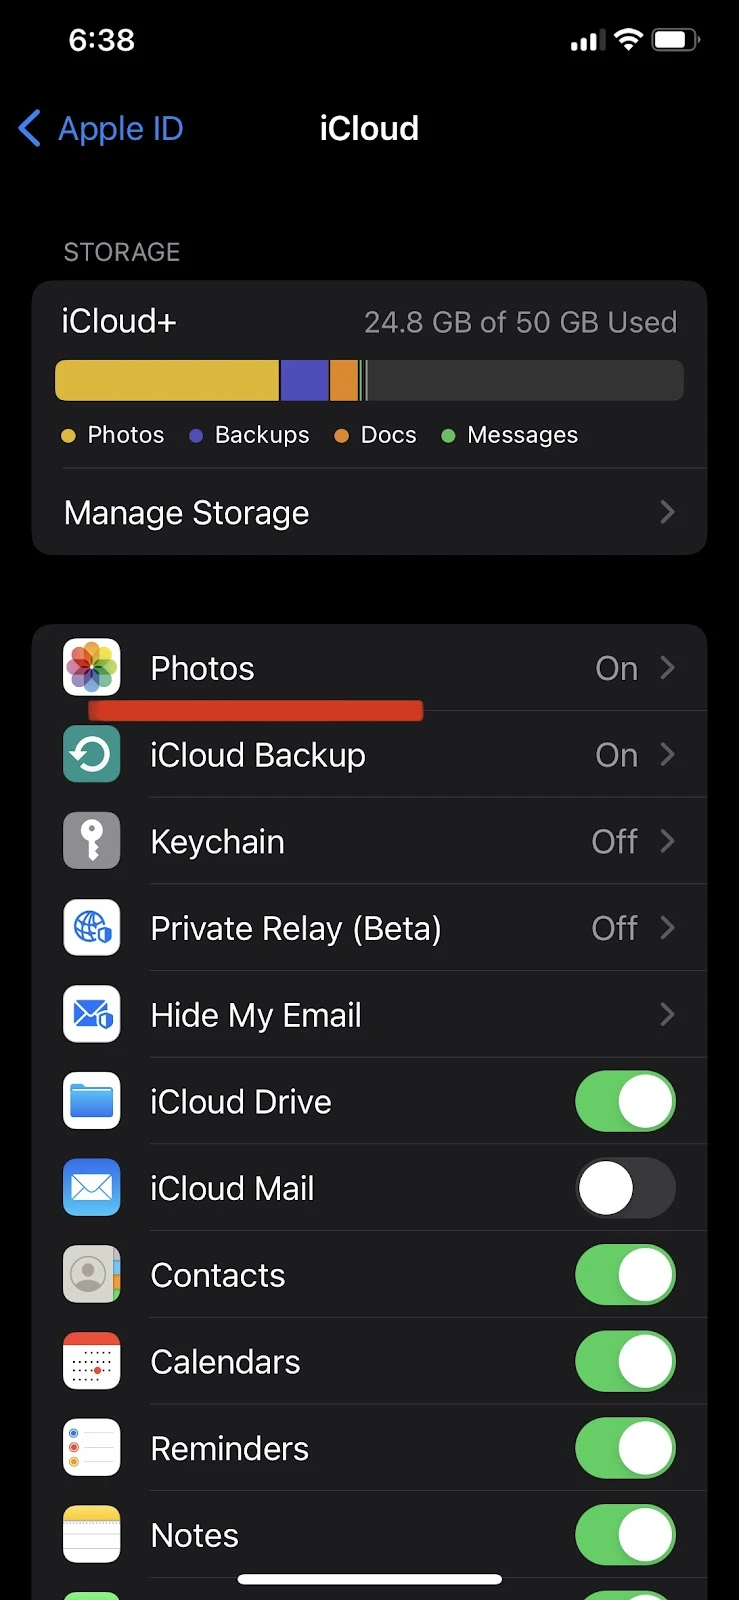
- Tap on “iCloud.” > Photos
- Toggle on “iCloud Photos”
- Select “Download and Keep Originals”


Why does iCloud not backup all photos?
iCloud generally backs up all the photos available on your iPhone, excluding the ones that have already been backed up. if all your photos are not getting backed up on iCloud, these are possible reasons:
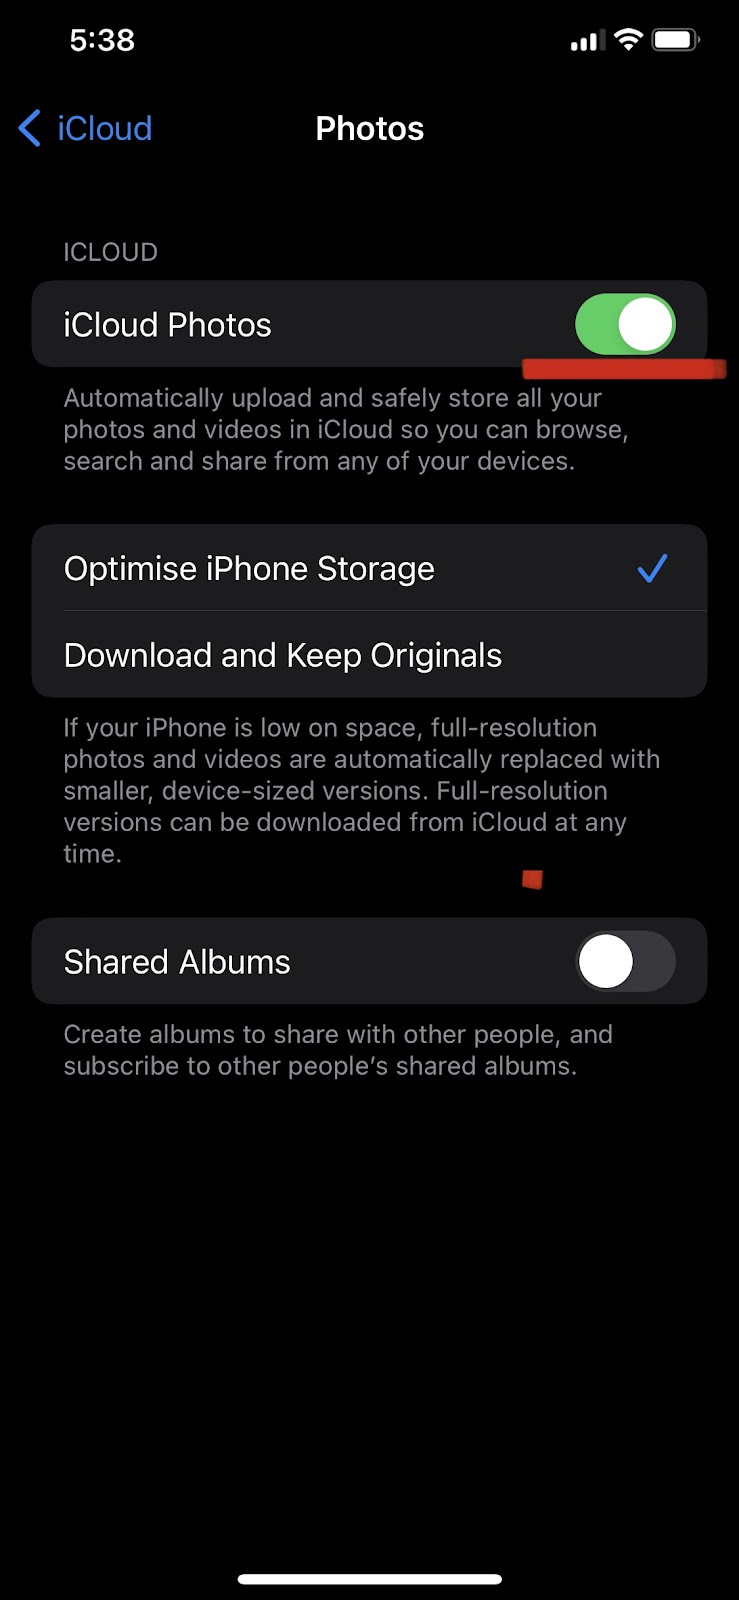
- You have the “iCloud Photos” feature turned off
- Your iCloud storage is full
1. Enable iCloud photos feature
A possible reason your photos are not getting backed up to the iCloud is if you have the iCloud feature turned off. This feature automatically backs up all your photos to iCloud using the internet.
While iCloud Photos is turned on by default, you may have disabled it accidentally at some point. Here is how to turn it back on:
- Go to Settings > Tap your name
- Tap “iCloud.” > Photos
- Toggle on “iCloud Photos.”

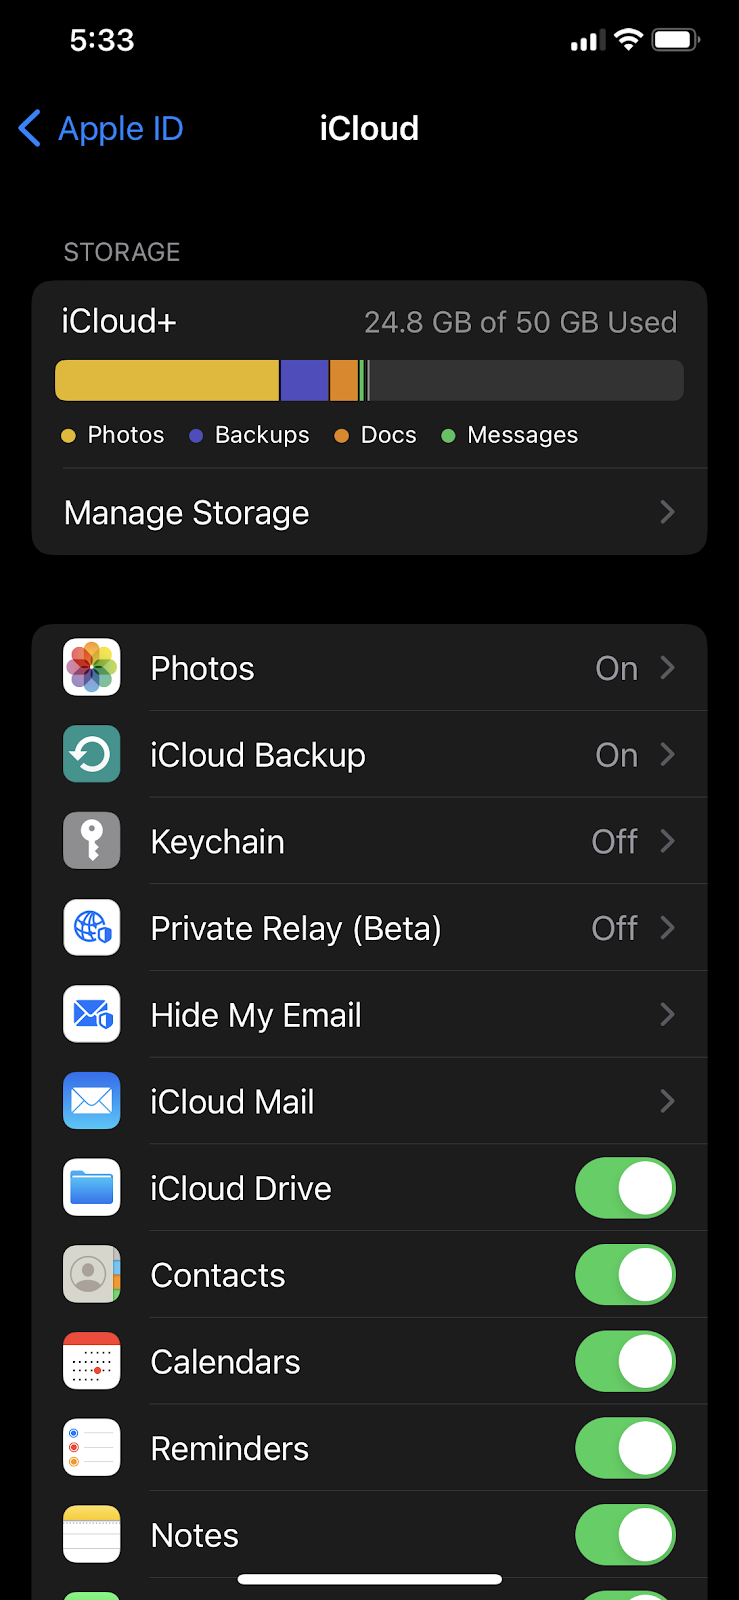
2. Check your iCloud storage
Apple provides 5GB of iCloud storage for free for all iPhone users to store all your documents, pictures, and other data. If you take a lot of photos and videos, you may run out of storage.
If your photos have exceeded the storage limit, that may be the reason they are no longer being backed up to iCloud.
Follow these steps to check the current status of your iCloud storage:
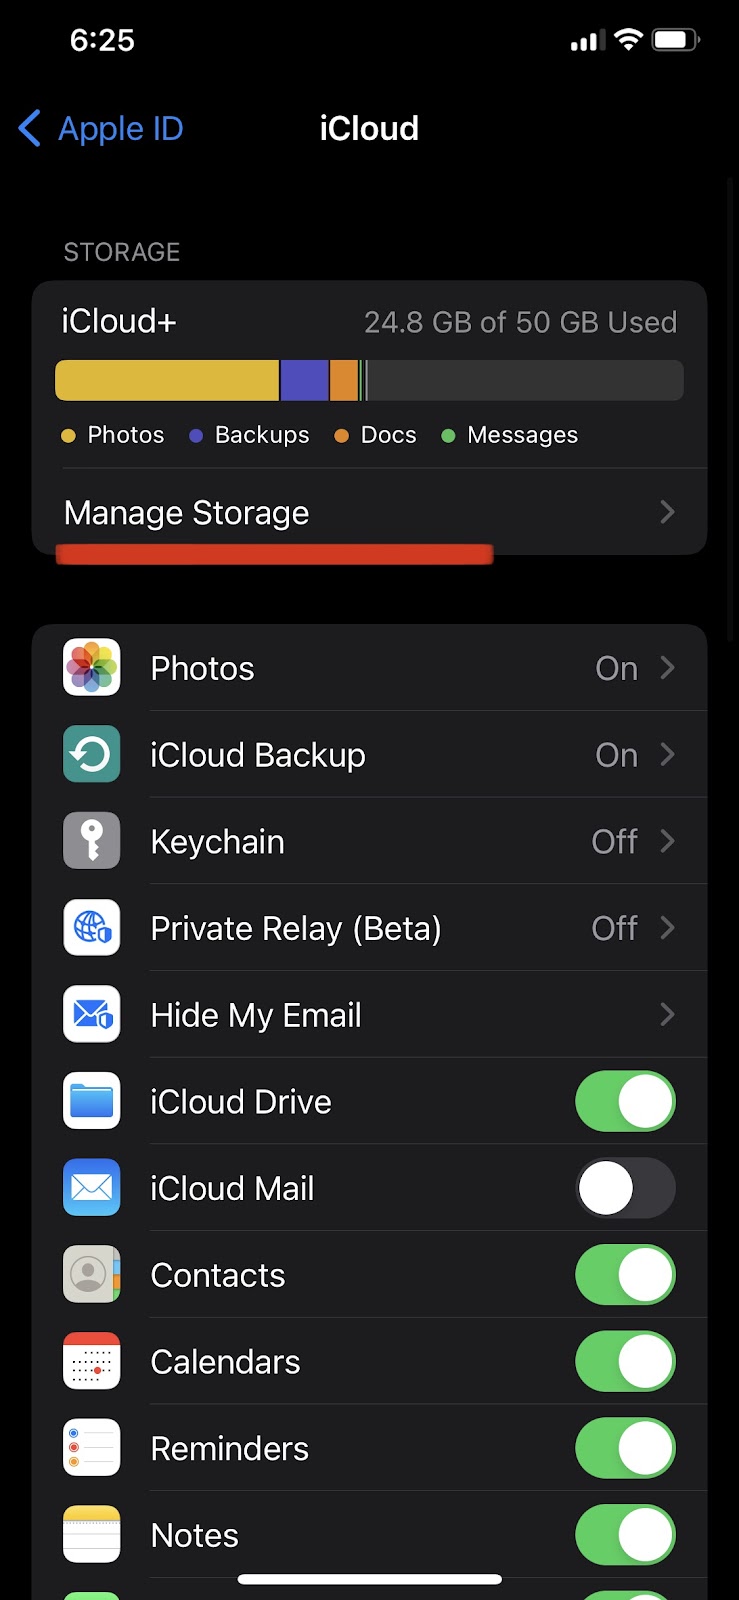
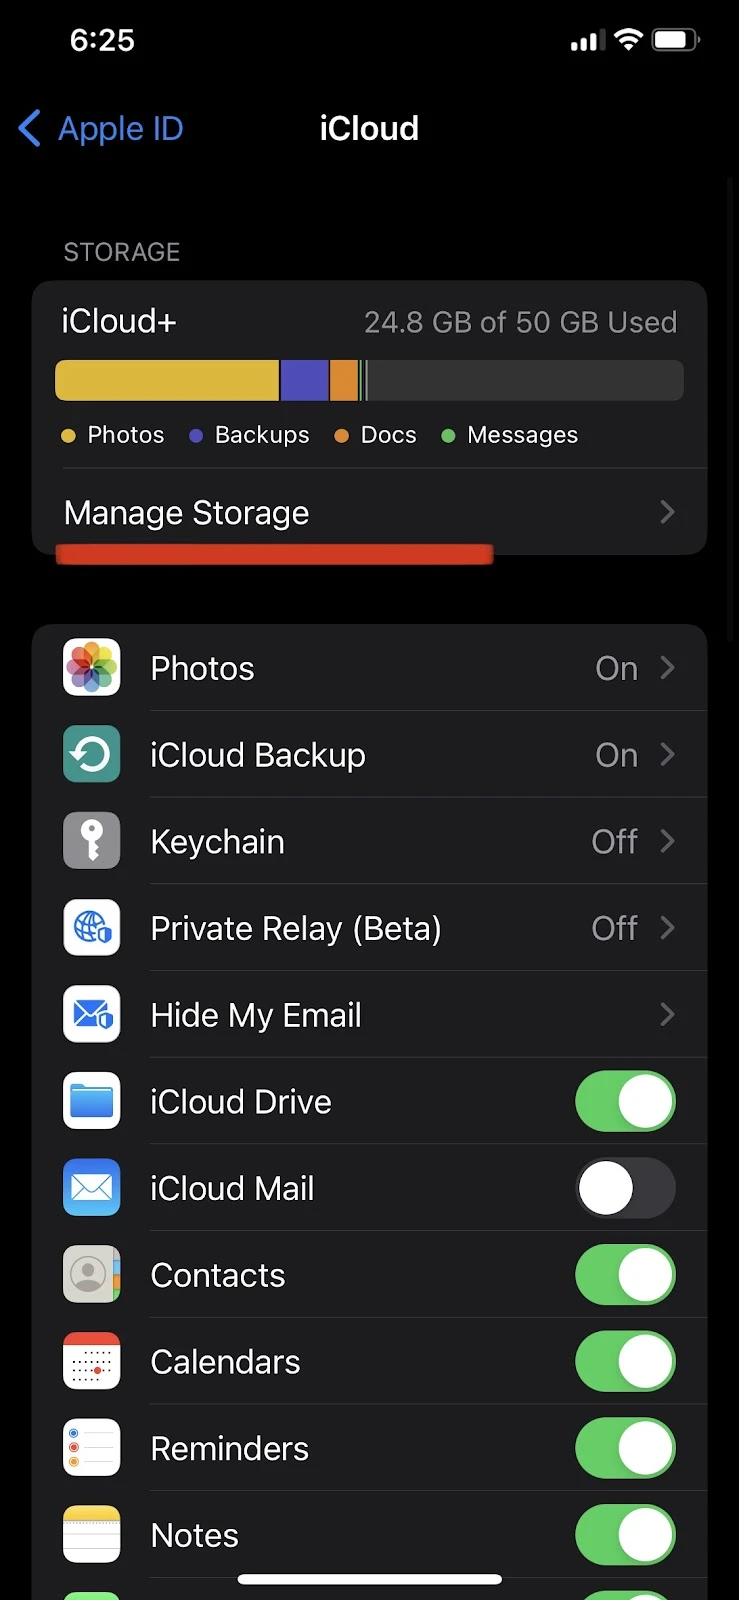
- Open Settings on your iPhone > Tap on your name at the top
- Tap on iCloud > See the available storage at the top
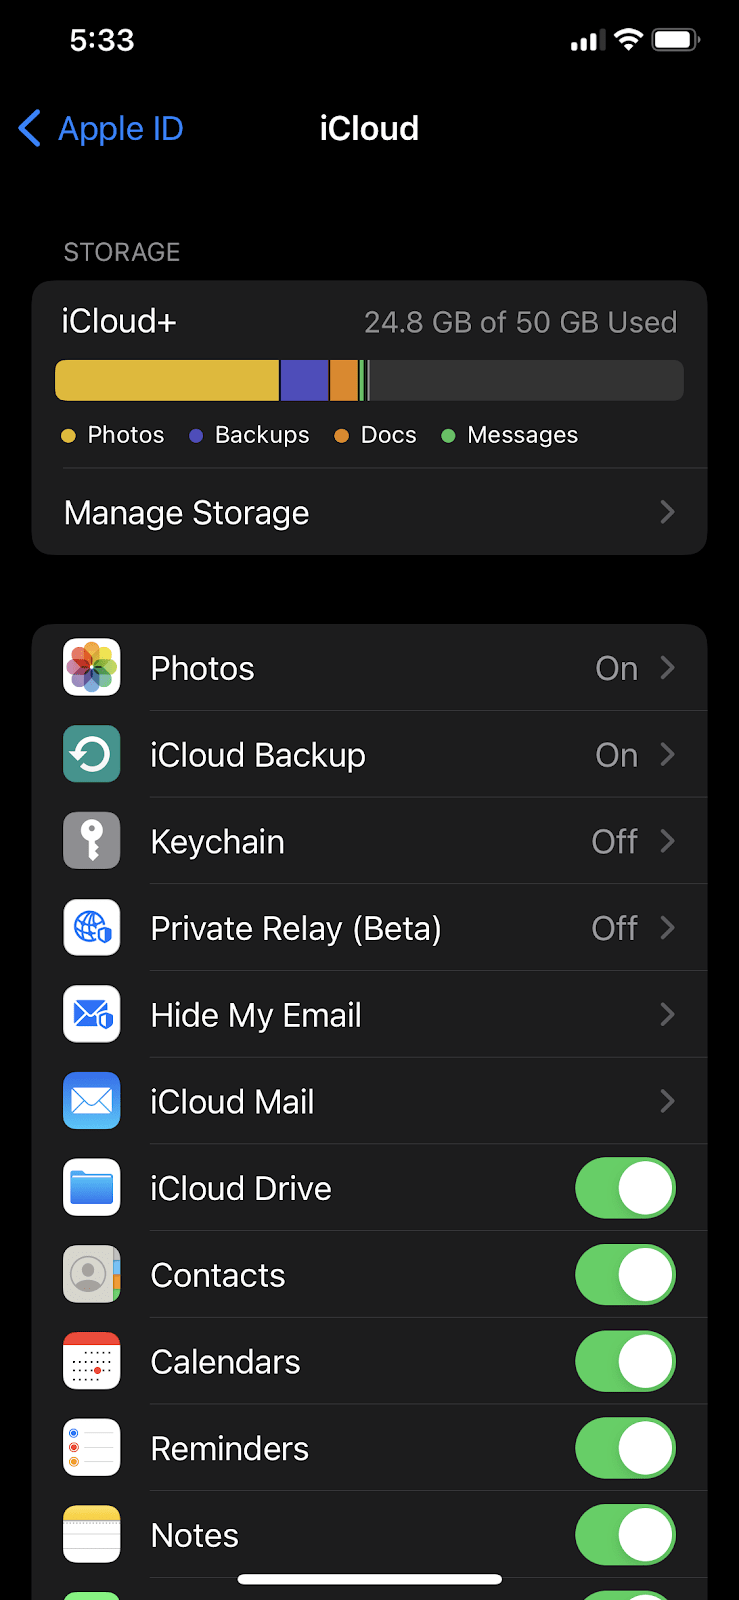
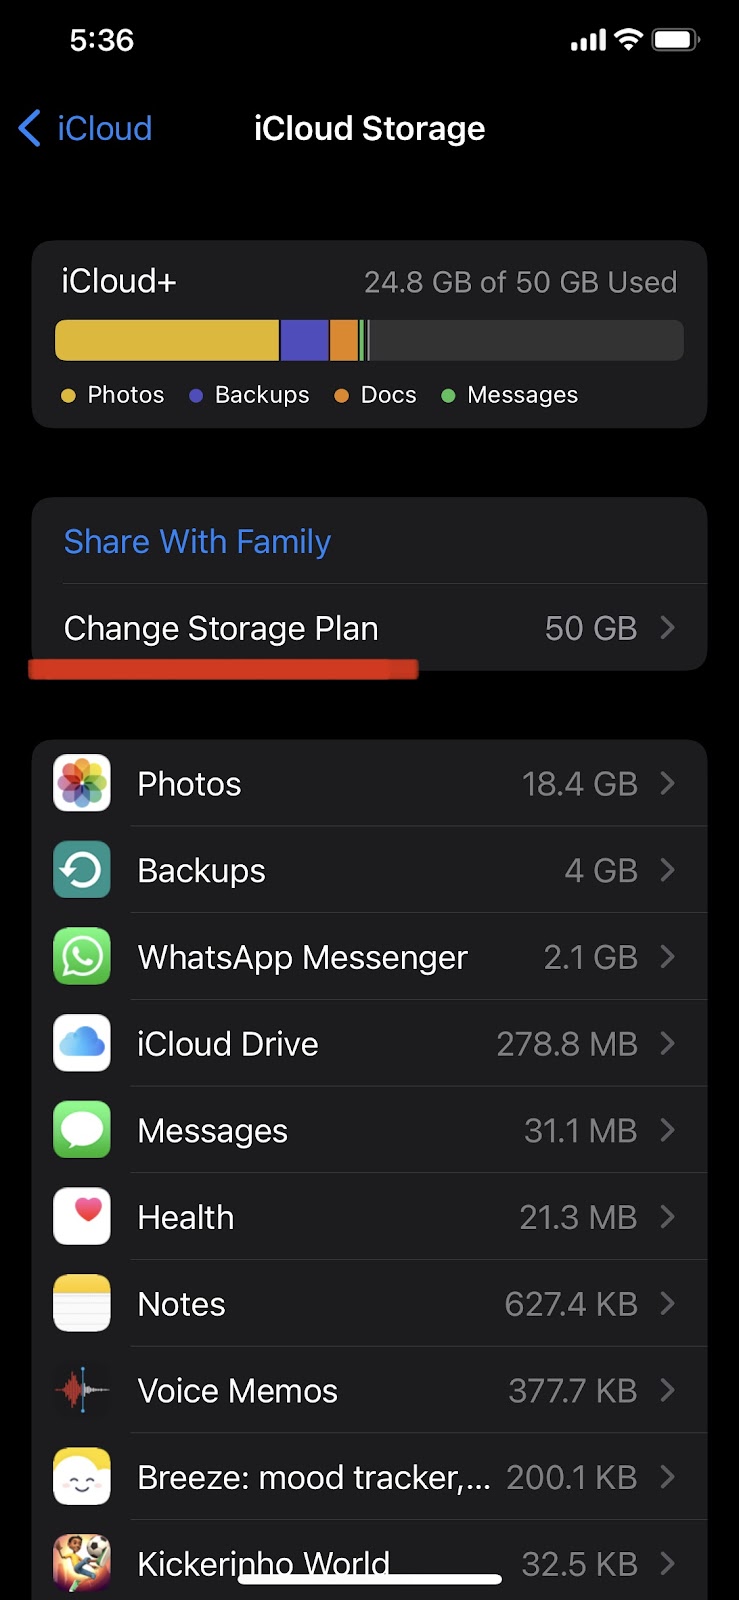
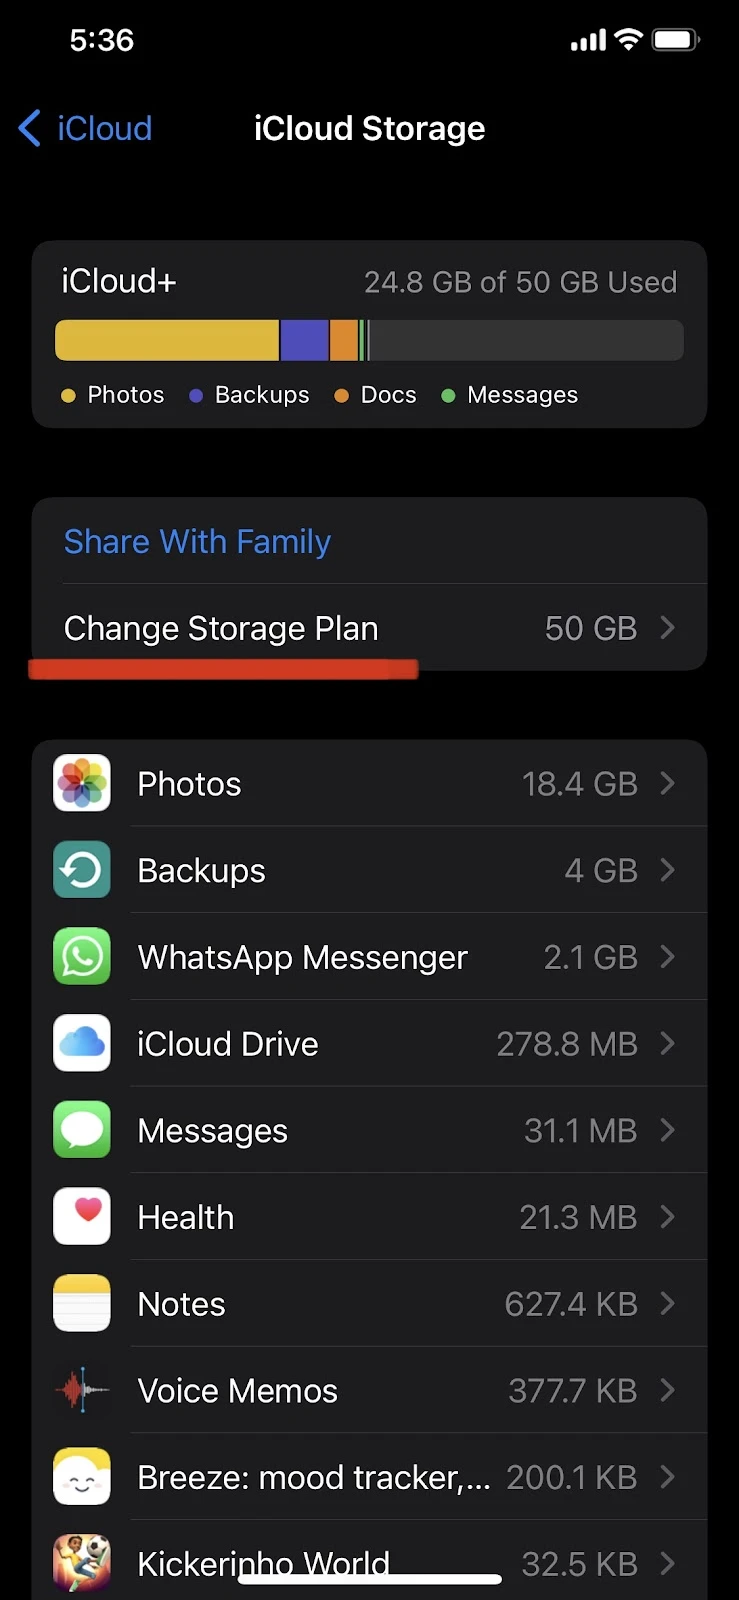
Here’s how to upgrade your storage plan:
- Open Settings > Tap your name at the top
- Tap iCloud > “Manage Storage ” > “Change Storage Plan”
- Select the plan you want to buy


What is the best way to back up photos from iPhone?
There are a couple of ways through which you can back up your photos. We’ll walk you through each of them so that you can make an informed decision.
1. Backup Photos using iCloud
This backup method is Apple’s own method that allows users to back up their photos and other essential data to a remote cloud server right from their Apple device.
You can backup up to 5GB of your data for free on iCloud, including photos that are synced between all your Apple devices using the same iCloud account. However, if your data exceeds this limit, you will have to buy extra storage from Apple.
If you back up your photos on iCloud and delete any photo from your device, it will reflect in iCloud and other devices that use the same Apple ID (assuming you have sync turned on).
See the “Enable iCloud feature” section for how to back up your photos on iCloud.
2. Backup using iTunes
iTunes is another backup method provided by Apple that allows users to save their data on their computer hard disk manually.
Whereas iCloud requires you to buy extra storage if you exceed the free storage limit, iTunes lets you backup as much data as you want provided you have enough storage space on your computer.
This method comes in handy if you don’t want to upload your photos to the cloud. However, iTunes requires a bit more effort as you need to manually connect your iPhone to your PC in order to back up your pictures.
Here’s how to perform a backup using iTunes:
- Connect your iPhone to your computer with a USB cable
- Launch iTunes on your computer and log in with your Apple ID
- Click on your iPhone’s device icon on the left bar > click Photos
- Check the “Sync Photos” option > select the folder (Photos app) from where you want to back up photos.
- Now select “All photos and albums.” > “Apply”.
One thing to be aware of is that you will not be able to view the backed up photos in iTunes directly like you would in iCloud or Google Photos. To see photos stored in iTunes, you need to use a backup extractor tool like dr.fone iOS Backup & Restore.
3. Backup using Google Photos
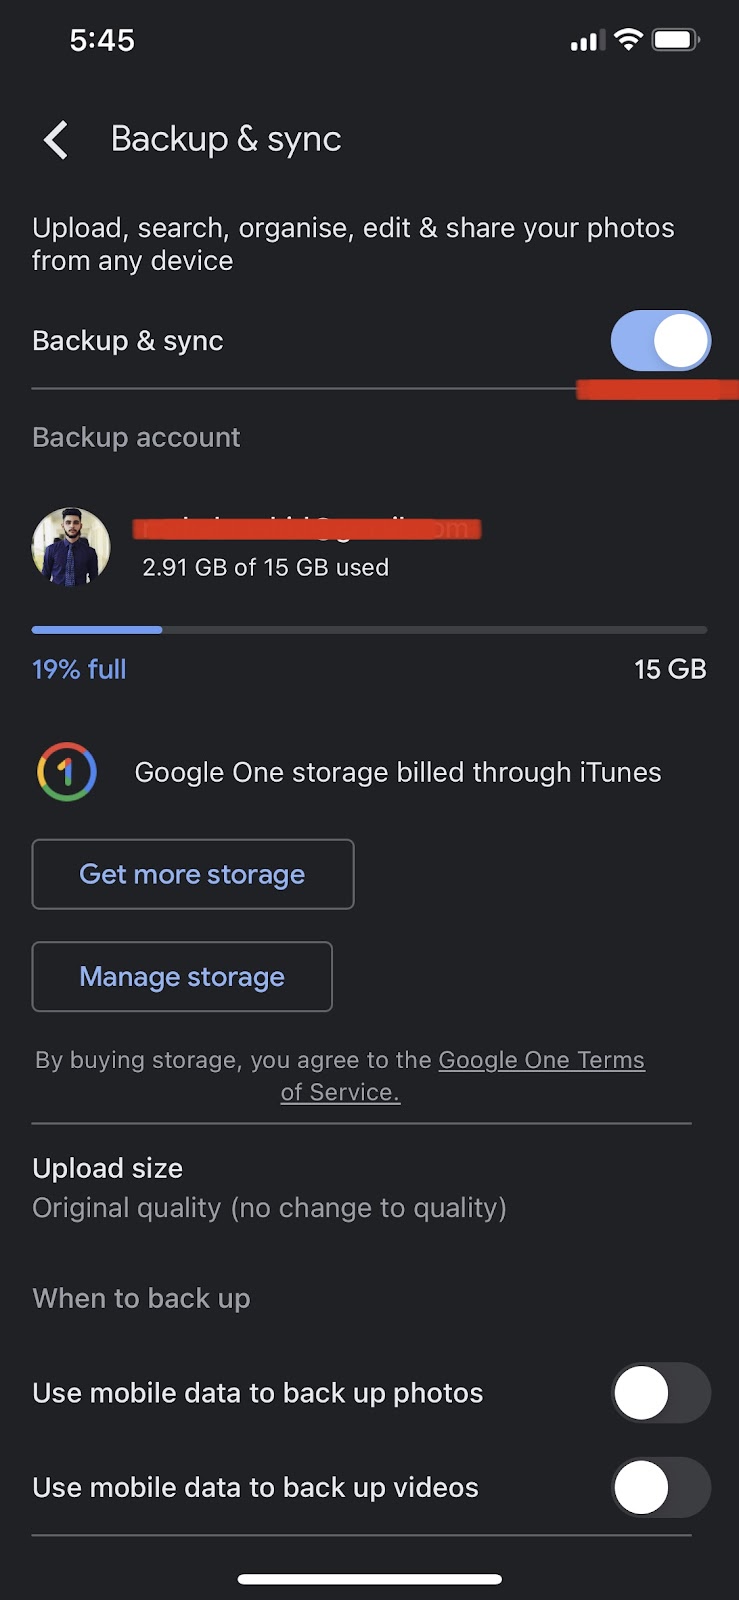
Google Photos let you back up up to 15GB of photos for free.
Like iCloud, Google photos also back up all your images on a cloud server. The Google Photos app is extremely user-friendly and organizes your photos efficiently. You can also find your backed-up photos with a keyword search.
Moreover, all of your backed-up photos can be accessed from any device using Google photos since they are stored on a cloud server.
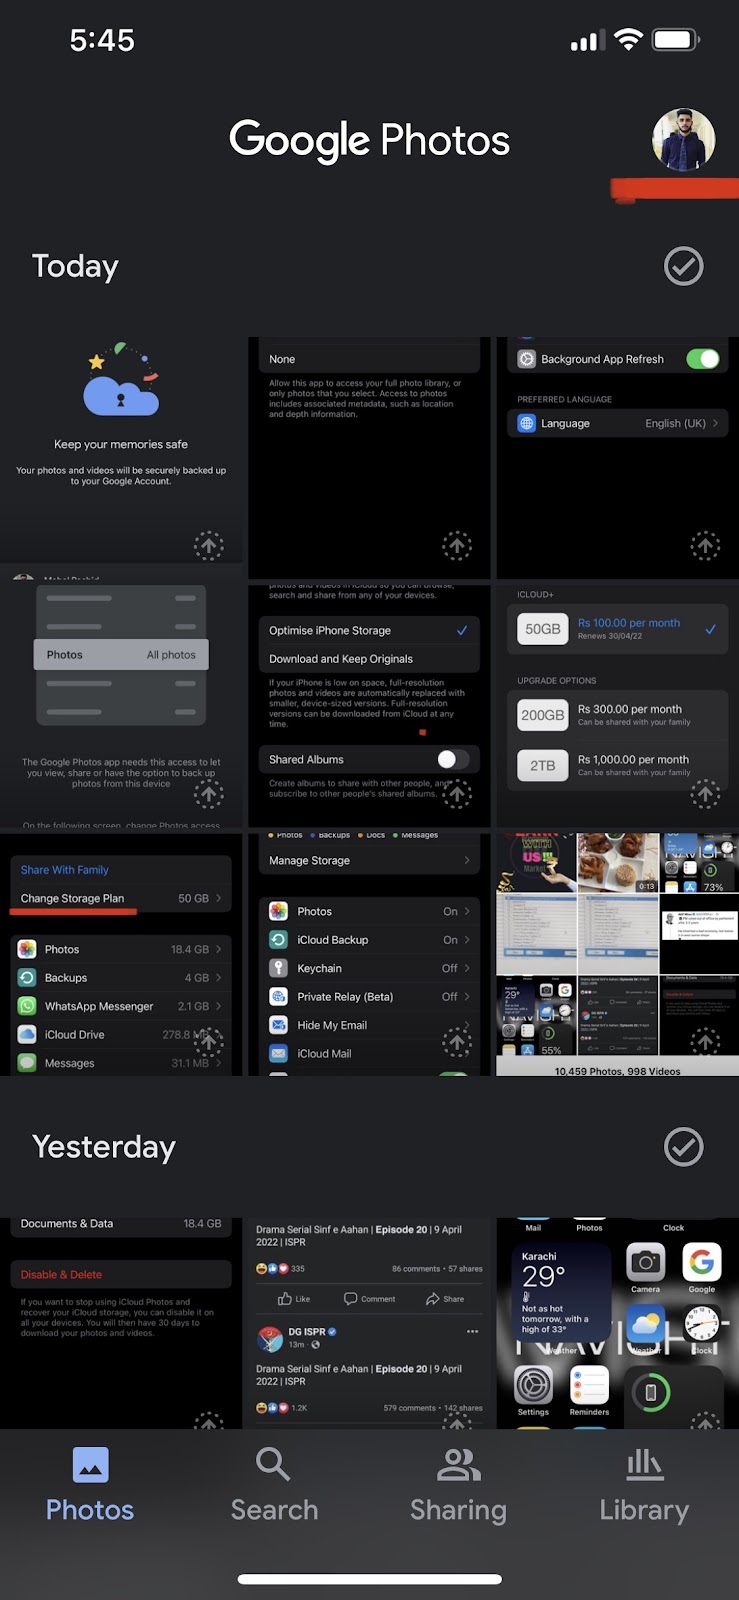
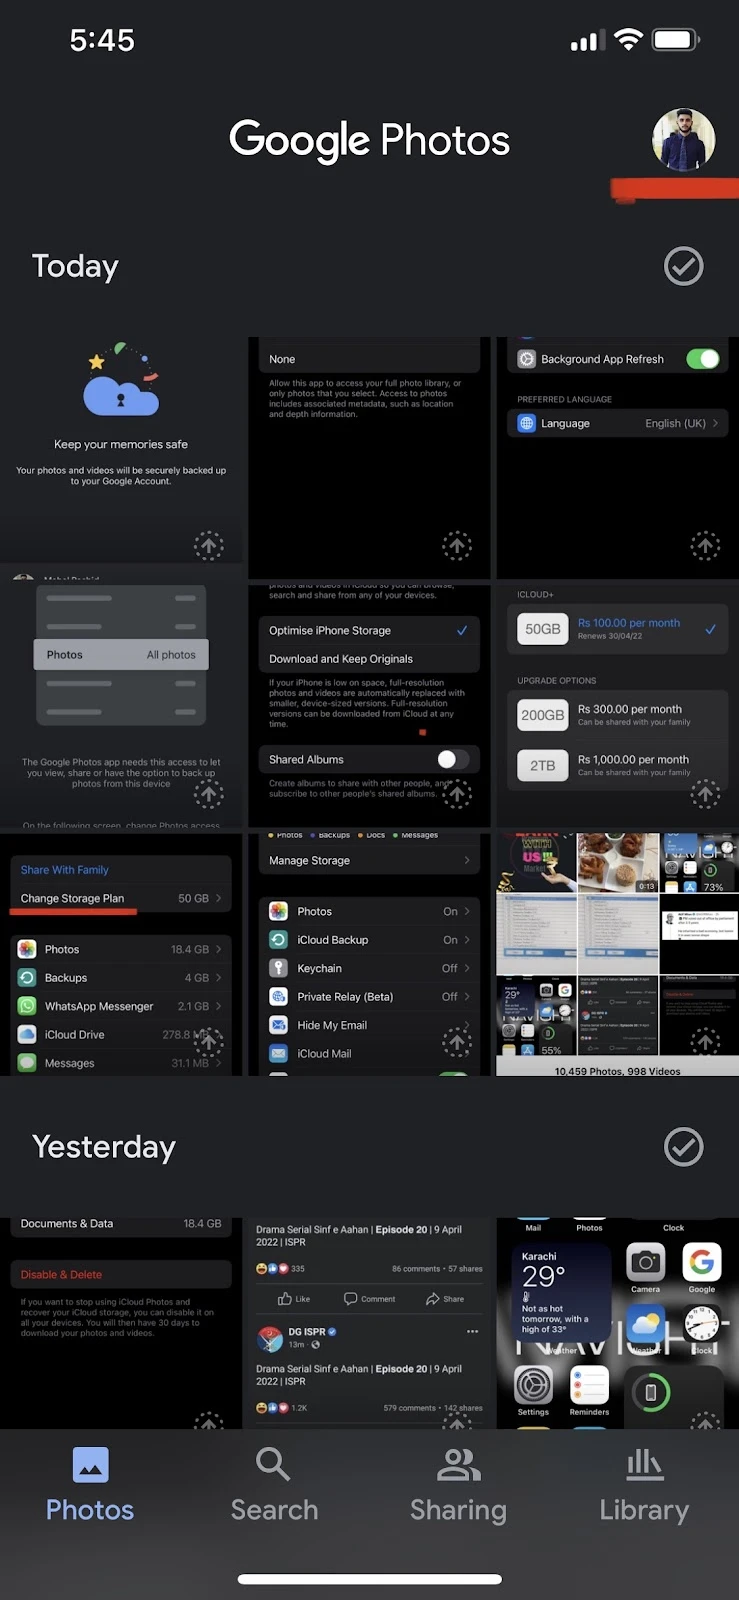
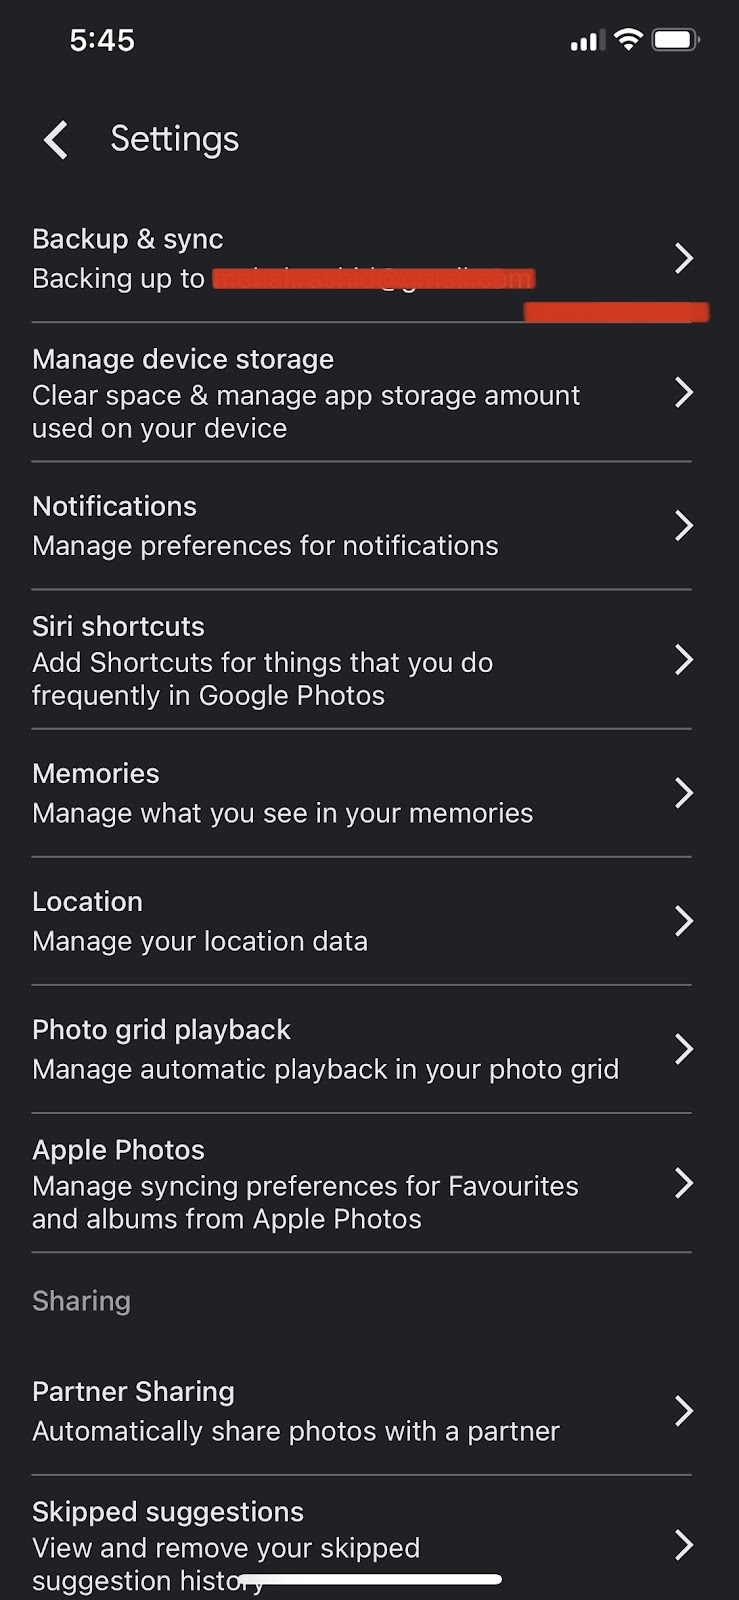
Here’s how to backup your photos on Google Photos:
- Install “Google Photos” app on your iPhone and open it
- Grant Google Photos access to your photos
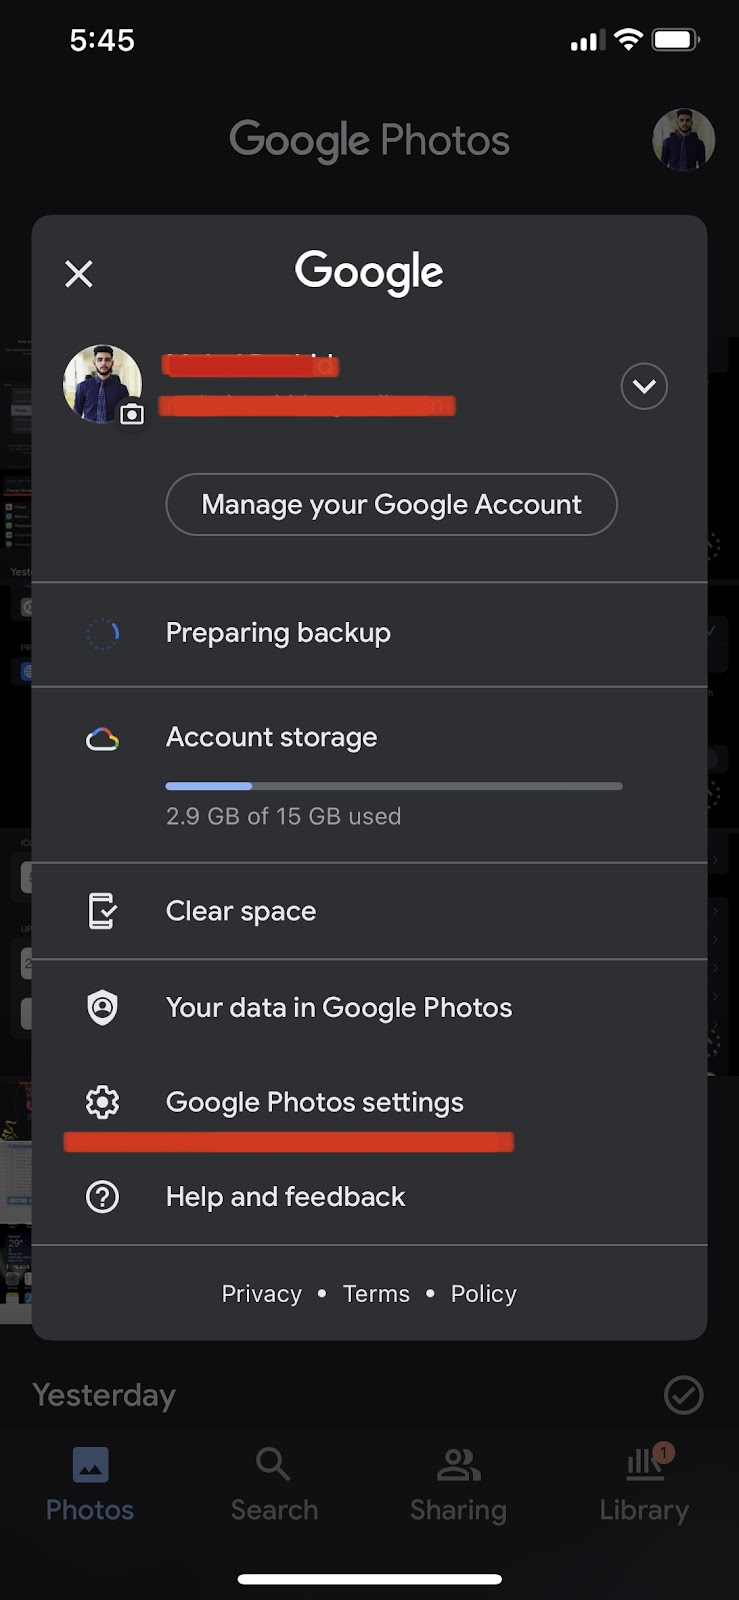
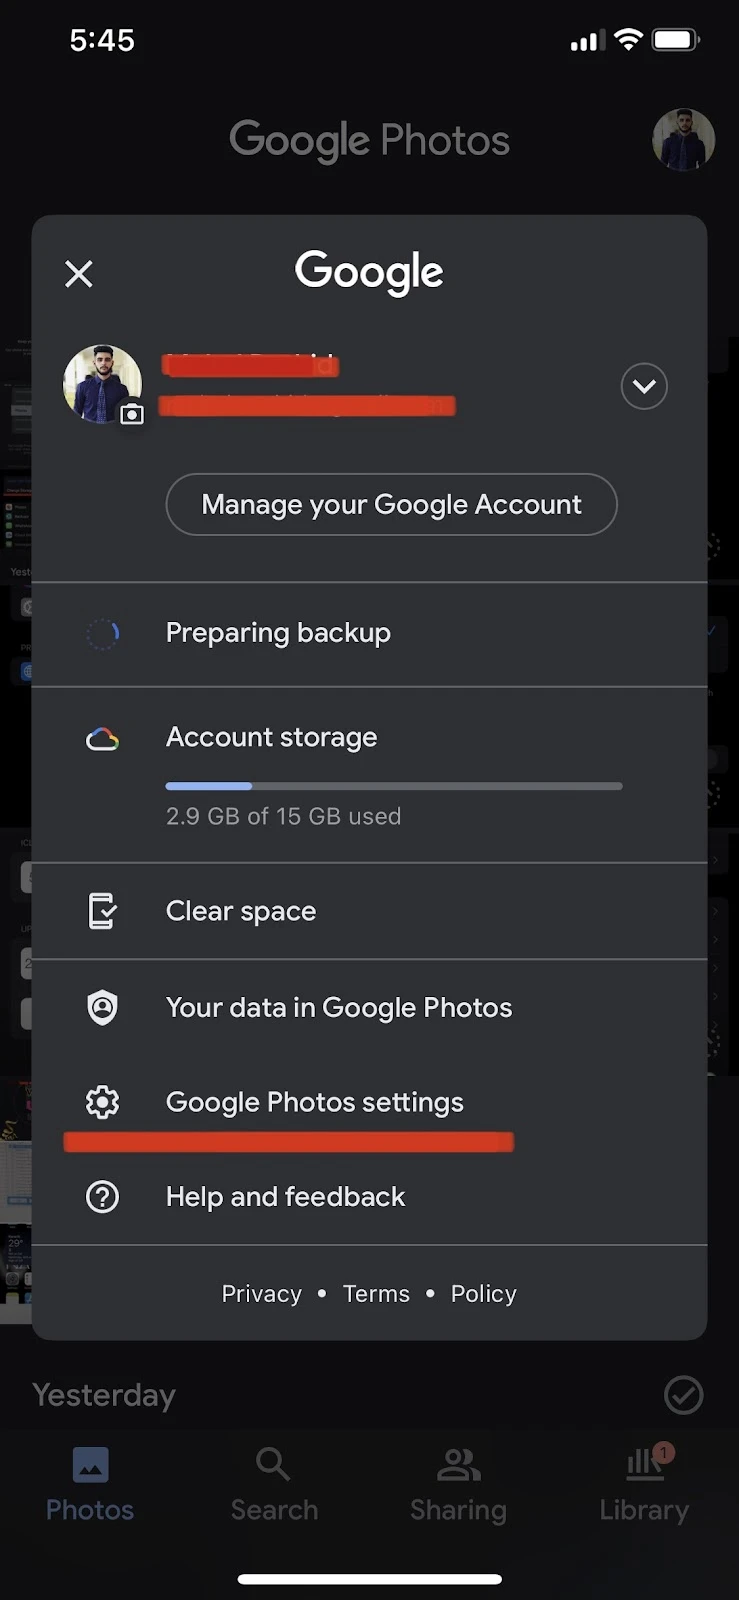
- Log in to your Google account > Tap on your profile
- Choose Google Photo settings > Tap “Back up & sync”
- Toggle “Back up & sync” on.


Do photos stay in iCloud forever?
Once uploaded to iCloud, your photos will remain there forever unless you delete them manually, either from your Apple device or from iCloud directly.
However, if your storage limit is larger than 5GB or you are using a paid subscription for iCloud, you may not be able to access your photos if you stop paying the iCloud subscription fee.
Apple allows you to download your photos within 30 days after unsubscribing to the iCloud storage plan. After that period, you lose access to your photos.
If you stop paying, you’ll lose access to your photos and no new photos will be backed up to the iCloud unless you reduce your data to 5GB free storage. However, Apple states your data will remains safe in iCloud, and you can access it once you start paying again.
Do photos stay on iPhone if deleted from iCloud?
If you delete any photo from your iCloud account, it also gets deleted from your iPhone if you have the “iCloud Photos” feature turned on, which means your photos are synced with iCloud.
If you have iCloud Photos turned off, on the other hand, deleting a photo from iCloud will not delete it from your device.
Conversely, if you delete a photo from your iPhone, it will stay in the iCloud and in your “recently deleted” album for 30 days. If you do not restore the deleted photo within 30 days, it will get removed from the iCloud as well.
Does turning on iCloud delete photos from iPhone?
If it is turned on, the “iCloud Photos” feature automatically backs up all your photos to the iCloud. Enabling this feature does not delete your photos from your iPhone.
If you turn on iCloud on your iPhone and then manually delete photos from your iCloud, your photos will get deleted from your iPhone.
How do I backup my iPhone photos to a hard drive?
Backup iPhone photos to a hard drive via Mac
Follow these steps to backup photos from iPhone to a hard drive using a Mac computer:
- Connect your external hard drive and iPhone to the Mac
- Open the Photos app on Mac
- Choose your iPhone from the “Devices.” section
- Select the photos you want to backup
- Click “import to” while specifying a path to the external hard drive
Backup photos via Windows PC
Follow these steps to backup photos from iPhone to a hard drive using a Windows PC:
- Connect the external hard drive and your iPhone to the computer using USB cables
- Grant permission to the iPhone
- Search for “This PC” in the taskbar > click on it
- Click on your device’s name > choose the “DCIM” folder
- Copy all the pictures you want to backup and paste them into your external hard drive