


Autofill allows you to save time as it saves you from repeatedly entering the same information over and over. You can utilize autofill data across multiple apps.
Some users, however, prefer to delete autofill email addresses from the keyboard, email app, or browser app to remove unwanted addresses or update outdated information.
You can delete the autofill email address from the Android keyboard using the long-press option or by clearing the cache for the keyboard app. Gmail autofill emails can be deleted through Gmail contacts or the Google Contacts app. Android chrome addresses can be removed under the app settings.
- How do I delete an email address from autofill?
- How do I change my autofill email address in Android Chrome?
- How do I remove suggested email addresses from Gmail?
- How do I get my email address to autofill?
- How do I change my Autofill address on my Samsung?
- How do I delete auto-saved usernames in Chrome?
- Why is someone else's name in my autofill?
How do I delete an email address from autofill?
The exact method for deleting an email address depends on where you are trying to delete the email address from.
The Android keyboard will automatically learn and store every word or piece of information you enter on your device, including email addresses. With a collection of new words, the Android keyboard becomes your phone’s dictionary.
Removing this information from the keyboard is easy through the two methods given below.
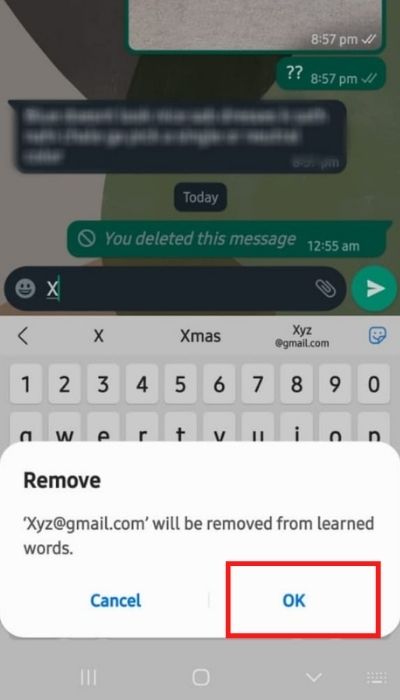
1. Delete a single entry on the Android keyboard
Here’s how to remove an entry from the Android virtual keyboard:
- Open the browser or chatting app on your Android phone.
- Start typing the word or information you want to delete.
- Long press on the word > you will see a pop-up message saying that the specific entry will be removed from the learned words.
- Tap OK to confirm.

2. Delete all the autofill data on the Android keyboard
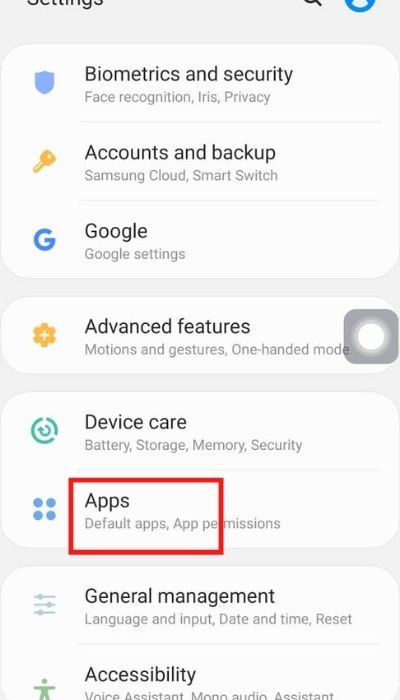
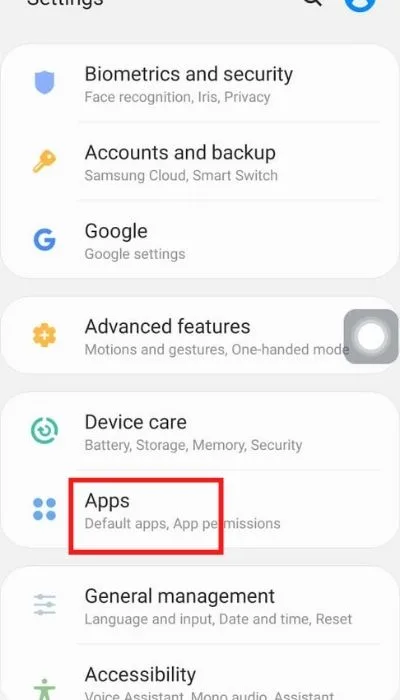
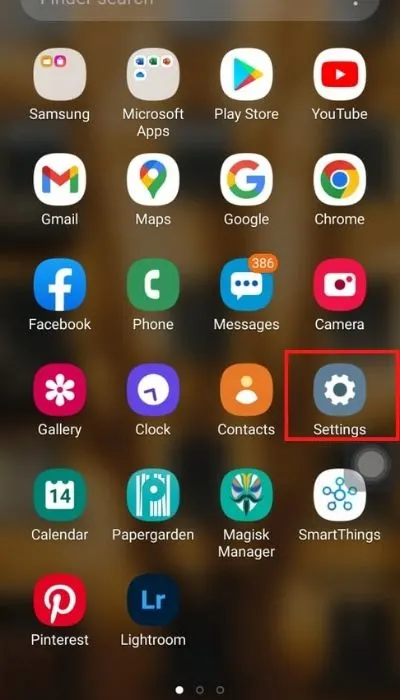
- Open the Settings app > Apps.
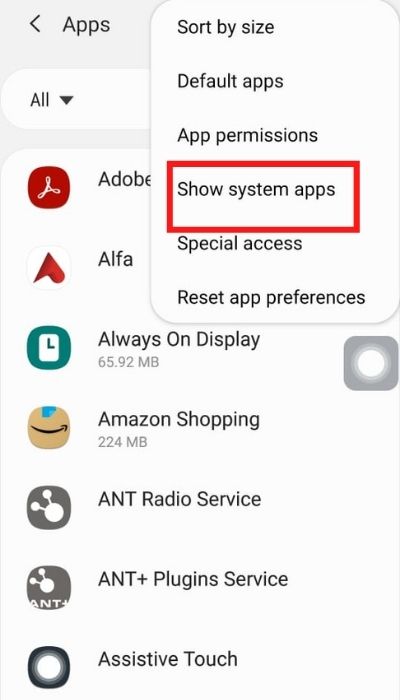
- Search for your phone’s default keyboard. If you are using the Samsung keyboard, tap “Show system apps”.
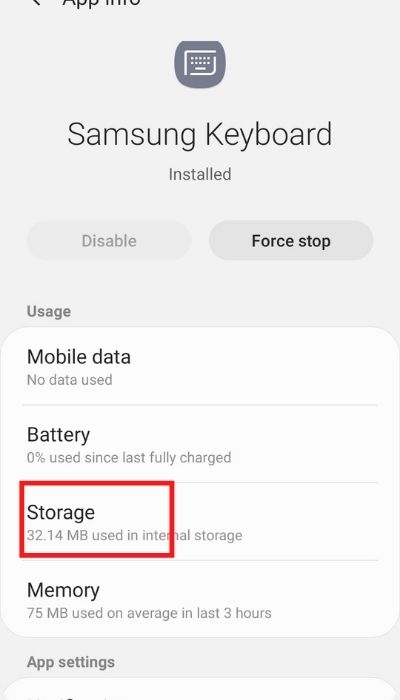
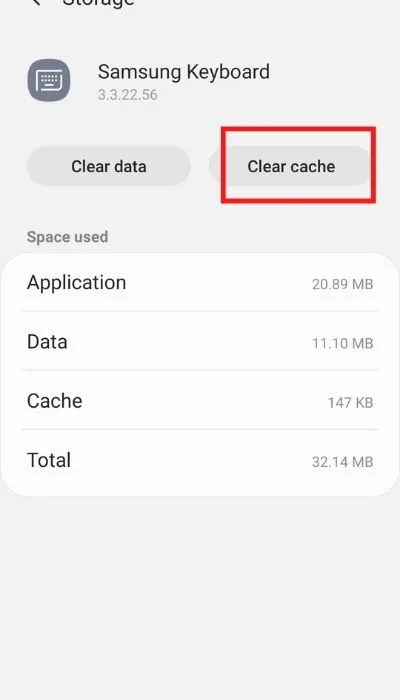
- Choose the keyboard app > Storage.
- Clear the cache to remove all the learned words from your keyboard. This includes all the autofill data.


You can also delete email addresses from the Gmail or Chrome app. The steps for these two will be discussed in the coming sections.
How do I turn off email autofill setting?
Autofilling email addresses allows you to enter addresses quickly. If you don’t like this feature, however, you can disable autofill from the settings app or browser app.
1. Turn off email autofill in the settings app
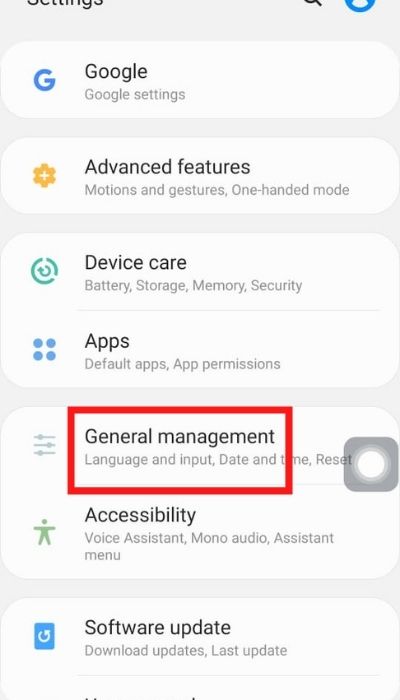
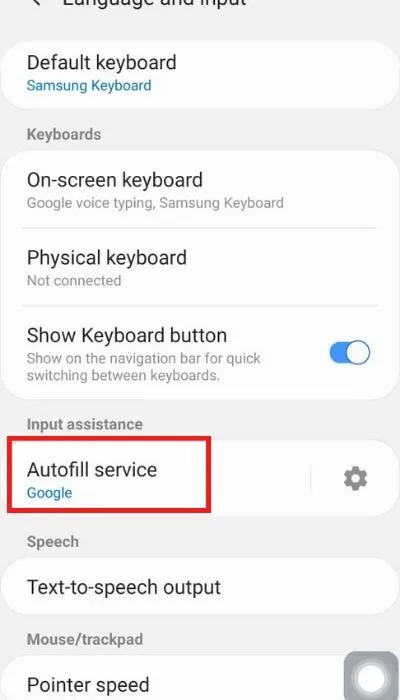
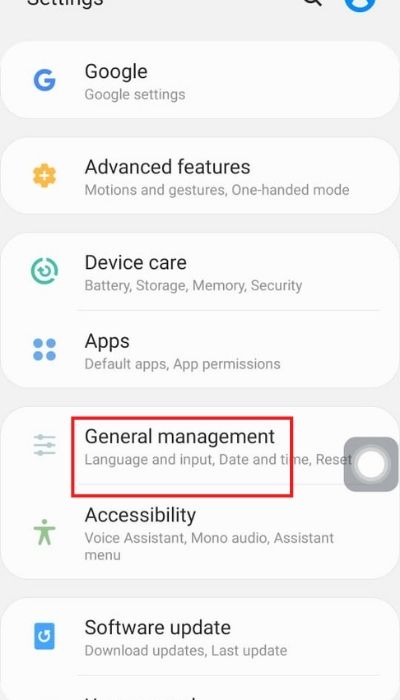
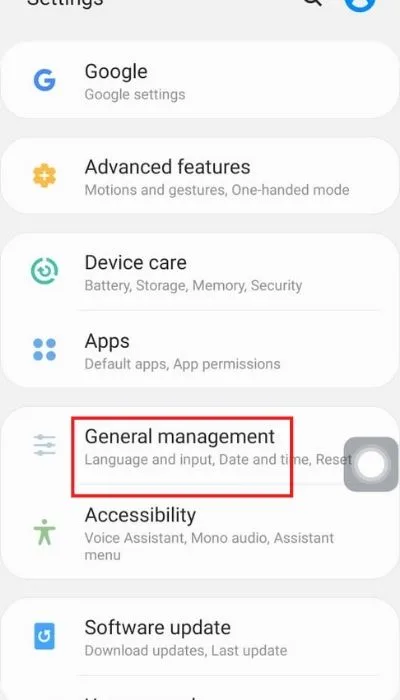
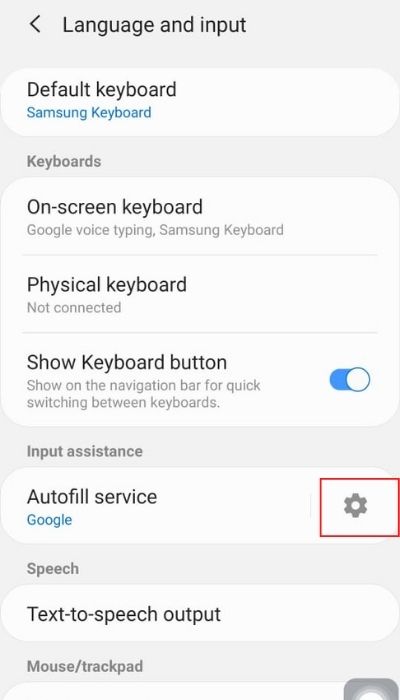
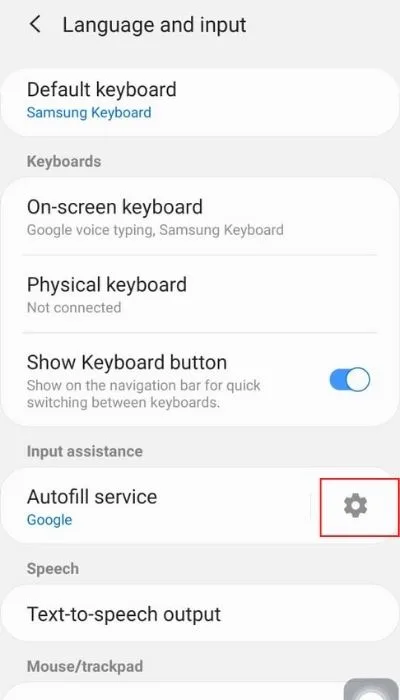
- Open Settings > General Management > Language and input.
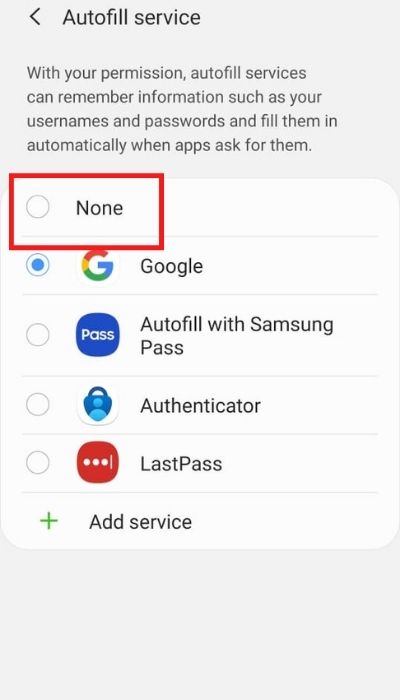
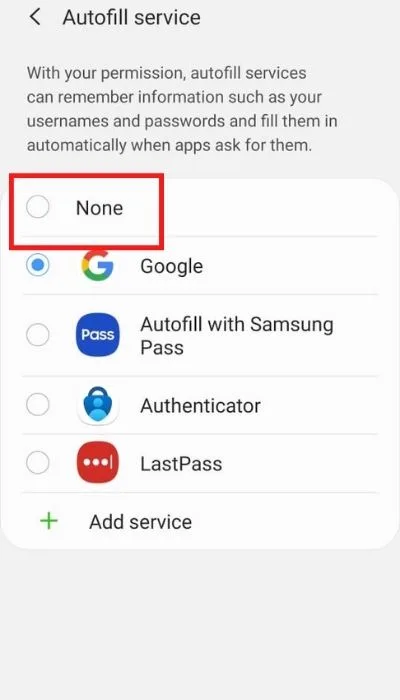
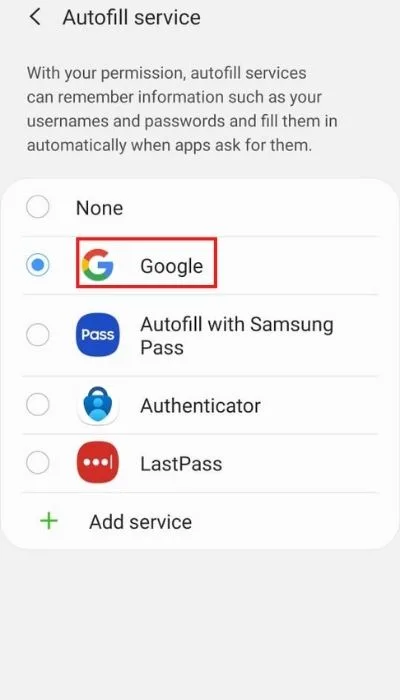
- Tap on the Autofill service.
- Choose “None” to stop using Autofill on your phone.


2. Turn off email autofill in the browser app
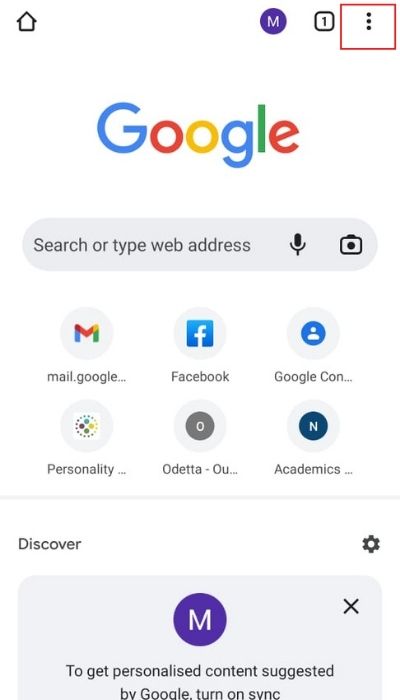
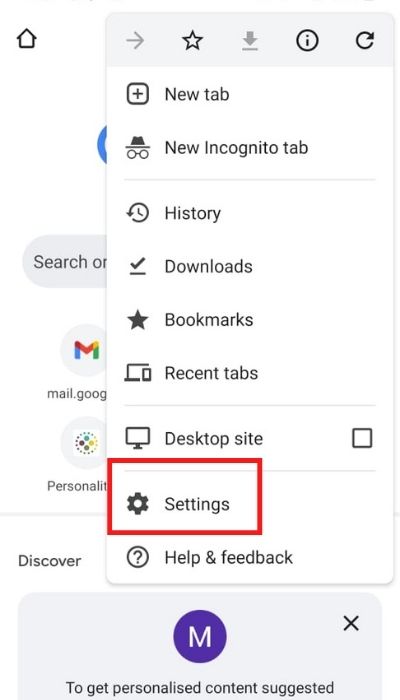
- Assuming you are using Chrome as your browser app, open it on your Android.
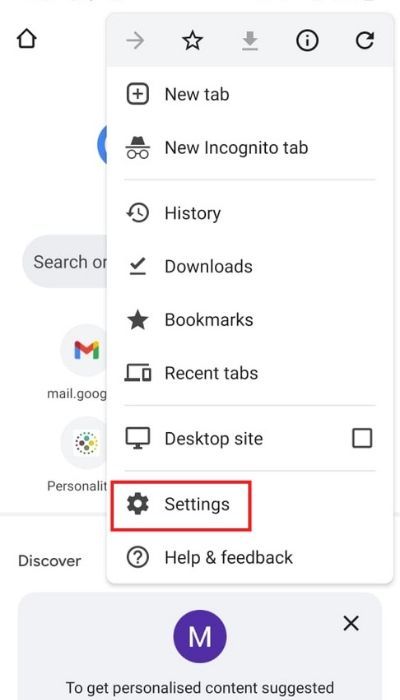
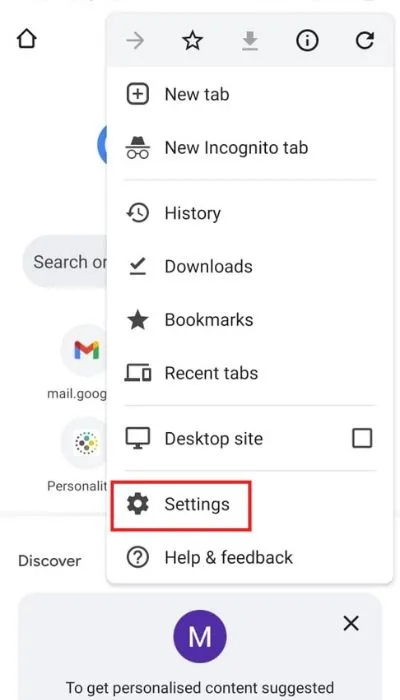
- Tap on the three dots to open the settings.
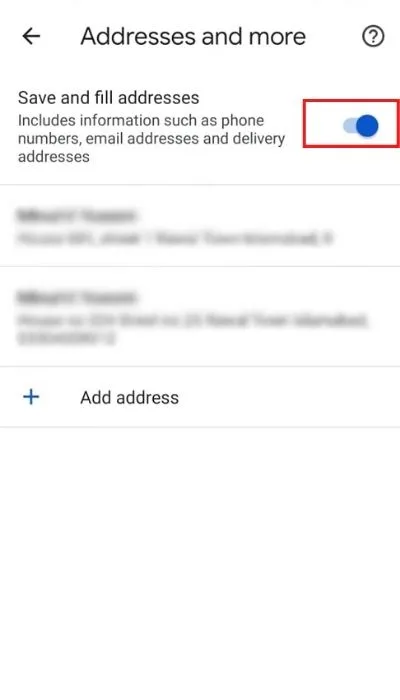
- The Addresses (and more options) are displayed under the Basic settings.
- Turn off the “Save and fill addresses” option to stop using the email Autofill inside the chrome app.


You can also turn off the email autofill for the Gmail app; the steps are discussed in detail in the ‘How do I turn off autofill in Gmail’ section.
How do I change my autofill email address in Android Chrome?
Android Chrome typically saves email addresses as well as other information for autofill. To update or edit a saved address in the Chrome app, follow these steps.
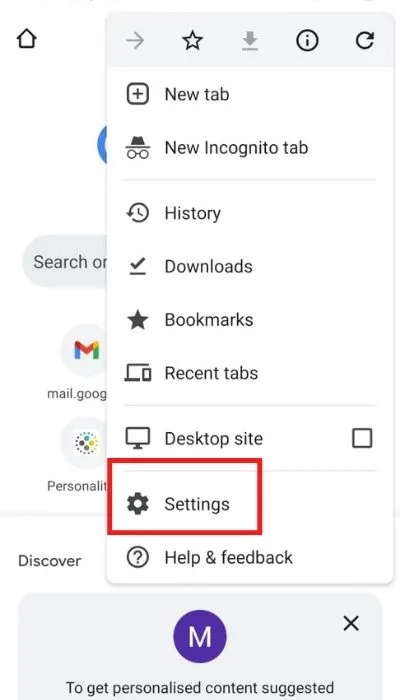
- Open the Chrome app on your Android device.
- Tap on the three dots in the right corner of the screen.
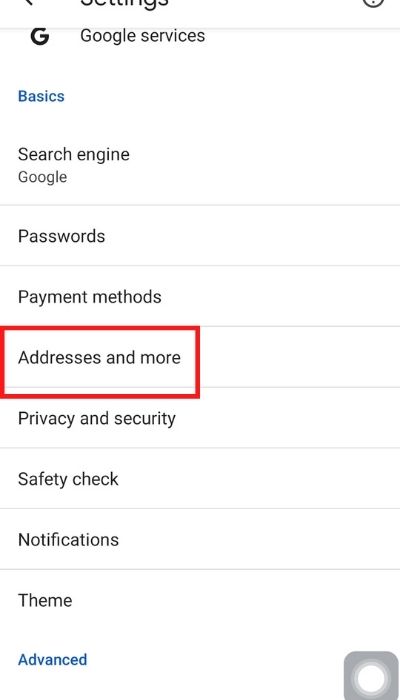
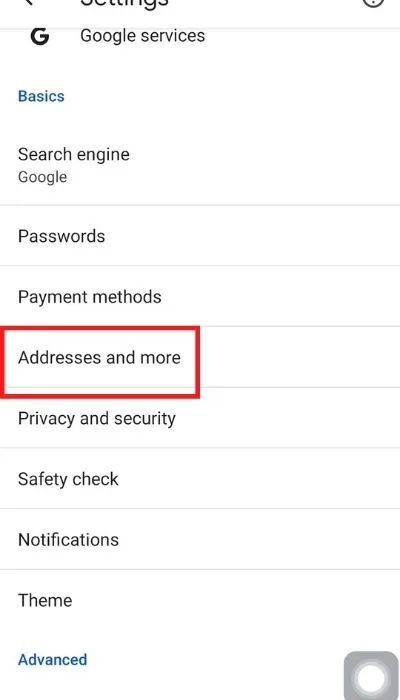
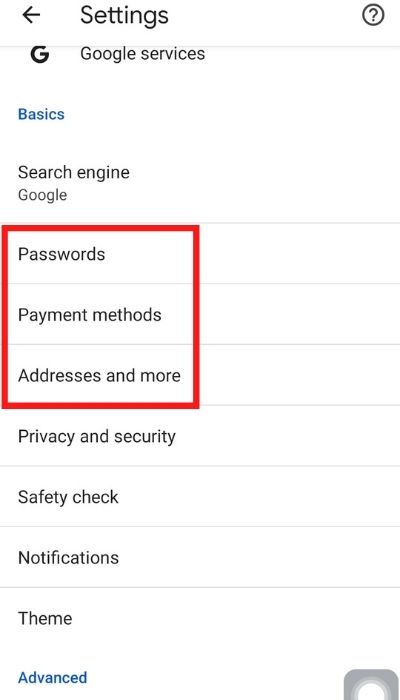
- Click on Settings > “Addresses and more”.
- Tap on the address you want to edit.
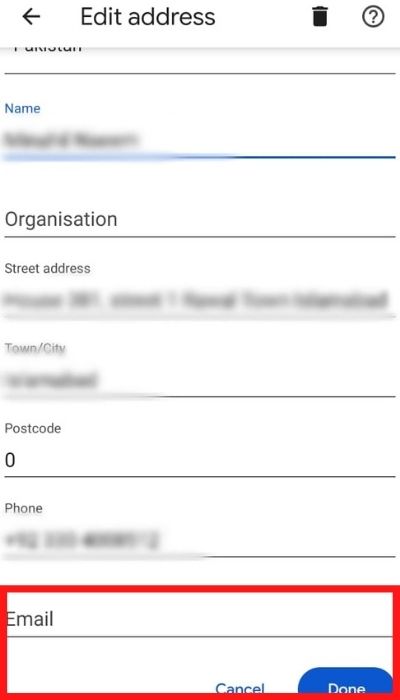
- Scroll down to the bottom to edit or add an email address
- Tap ‘Done’.

How do I remove suggested email addresses from Gmail?
Like other email apps, Google saves the email address of people you email in the Google Contacts. The email addresses are stored in two places:
- The main contacts for the addresses you save yourself
- The other contacts for emails you’ve interacted with.
This means the next time you compose a new email for someone you’ve already emailed to, you won’t need to re-enter the email address completely.
But what if the email address entered in the first email was incorrect or outdated, and you want to remove it? There are three ways to delete the suggested email addresses from Gmail.
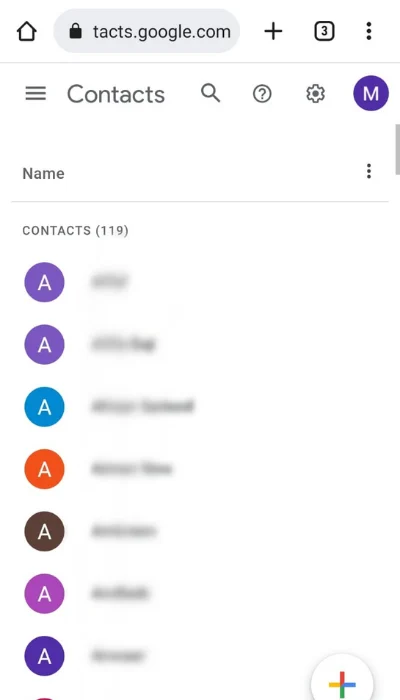
1. Through the main contacts in Gmail
- Open contacts.google.com on your mobile and sign in to the required Gmail account.
- On the main page, you will see the list of all the contacts you have saved.
- Scroll or search for the contact to remove from the suggested email addresses.
- Press the small icon next to the contact or email address. A list of options pop up
- Click on three 3 dots to access the delete option > Delete.


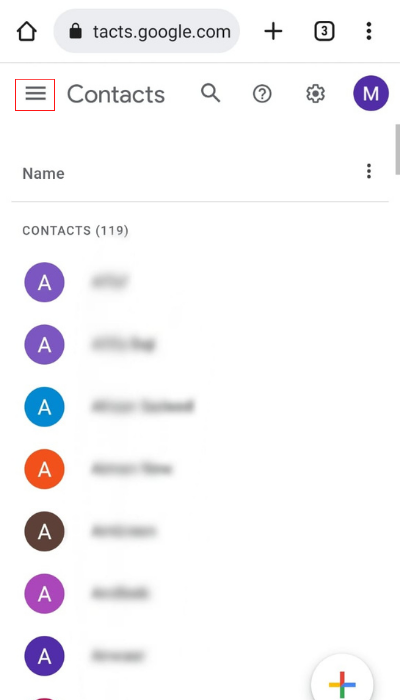
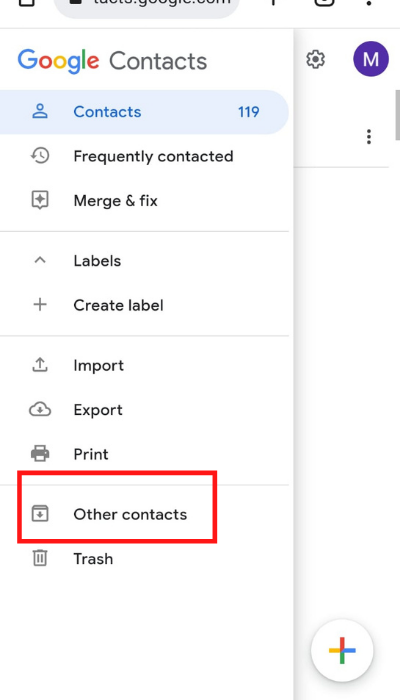
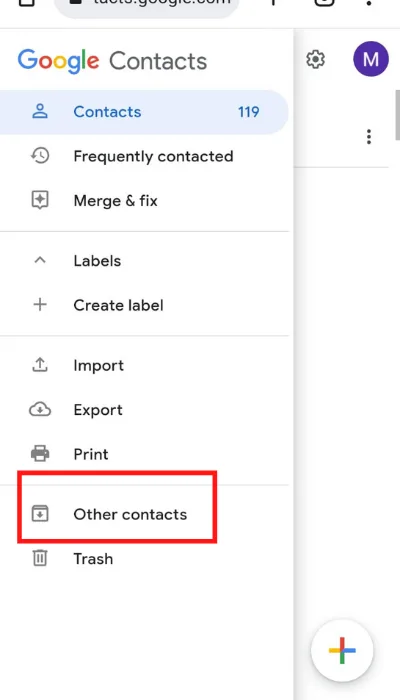
2. Using the Other Contacts in Gmail
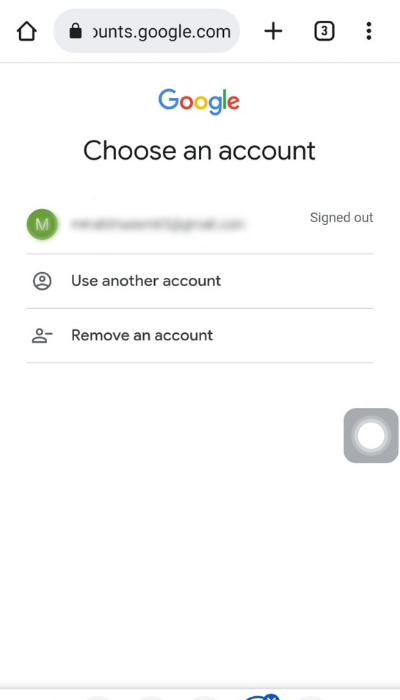
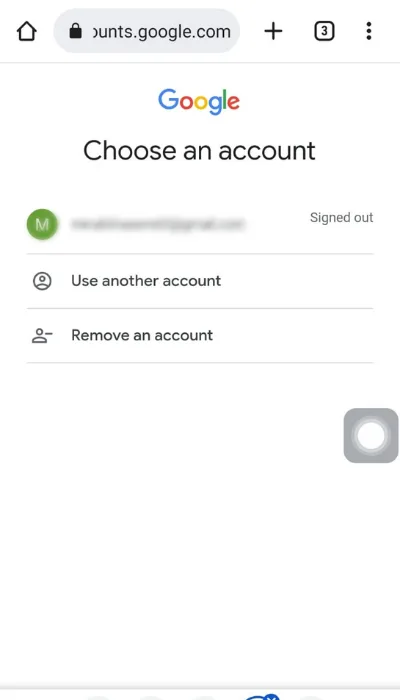
- Open contacts.google.com on your mobile browser.
- Sign in to your Gmail account from where you would like to remove the email addresses.
- Tap on the three bars icon on the top left of the screen.
- Click on ‘Other Contacts: a list of emails you have emailed at least once appears.
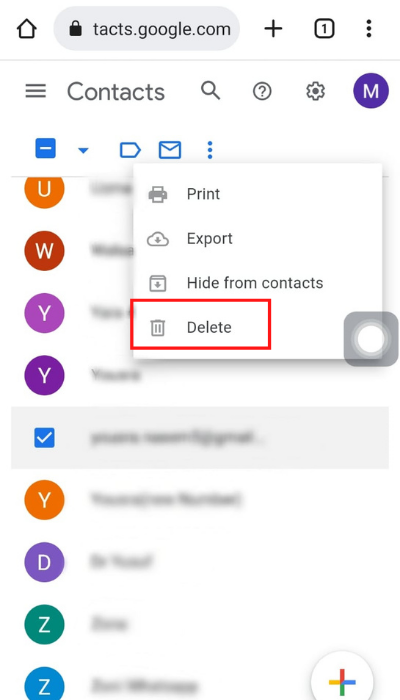
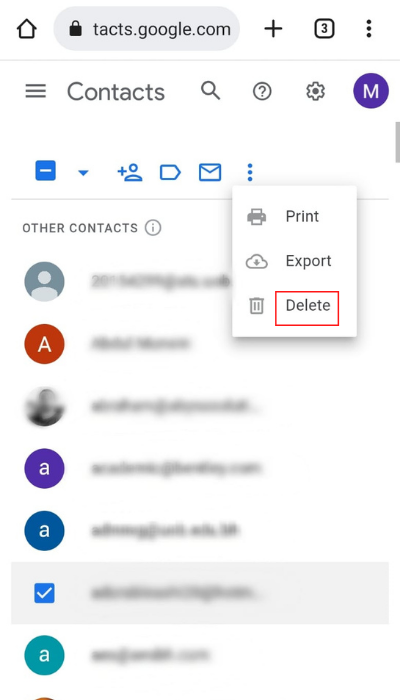
- Tap on the picture or initials for the email address you want to remove. To remove multiple email addresses, scroll through the list and tap the icon next to each of the email addresses to remove.
- A blue menu will show at the top > tap the three dots on the right side.
- Tap Delete to remove the selected email addresses from the suggested email address book in your Gmail account.
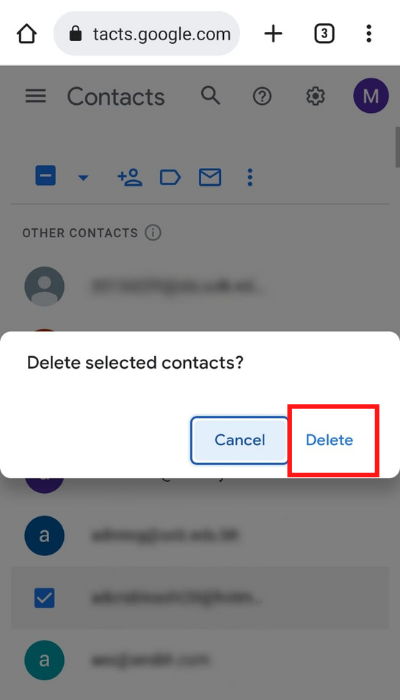
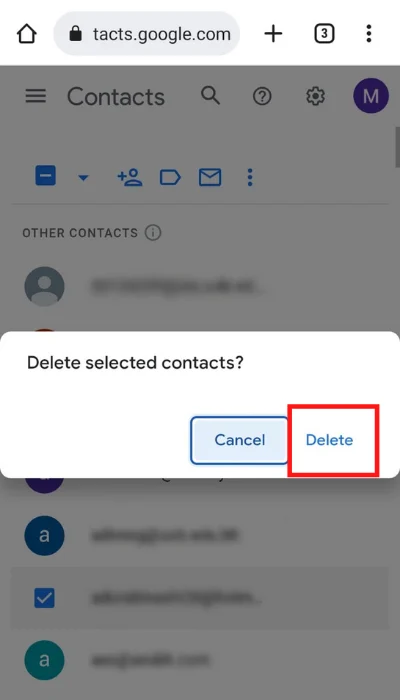
- Tap Delete to confirm your choice.


3. Using the Google Contacts App
- Download the Google Contacts app from the play store and open it
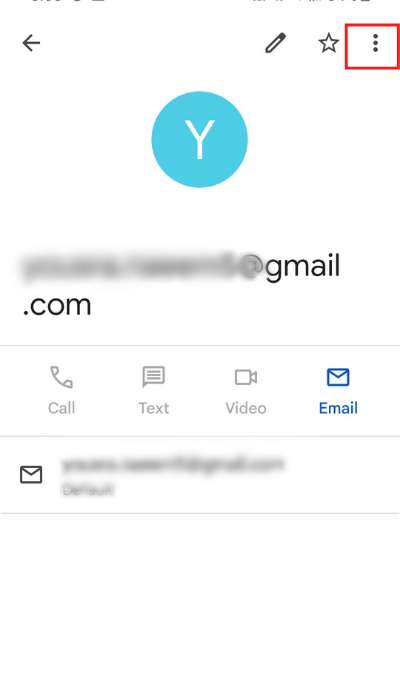
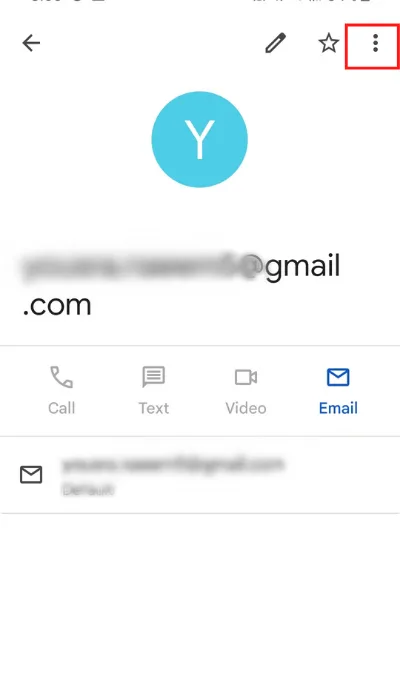
- Navigate and click on the specific contact/email address.
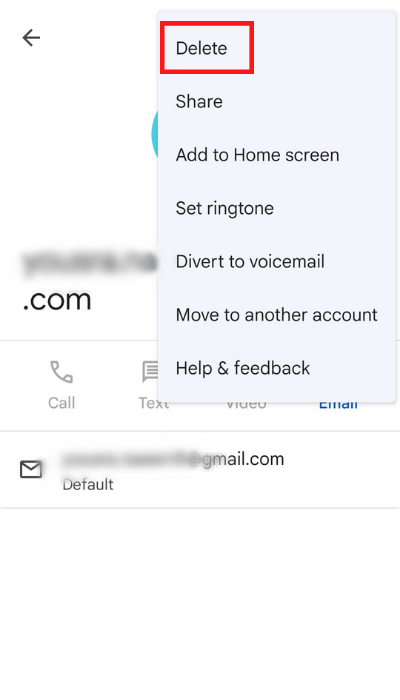
- Click on the three tiny dots > Delete.
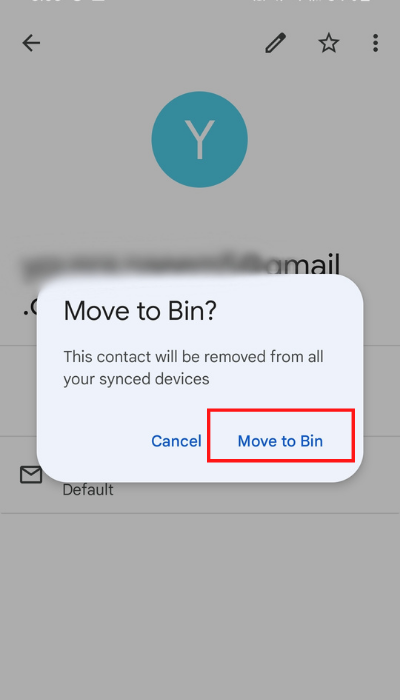
- Confirm your choice to move it to bin.


How do I turn off autofill in Gmail?
Most users find the autofill feature handy as it gives suggestions based on your interaction once you start entering an email address.
However, you may prefer adding the contacts manually, and wonder if you can turn off the autofill feature in Gmail. You cannot exactly turn off the autofill feature, but you can stop Gmail from remembering or saving the email addresses. Here’s how:.
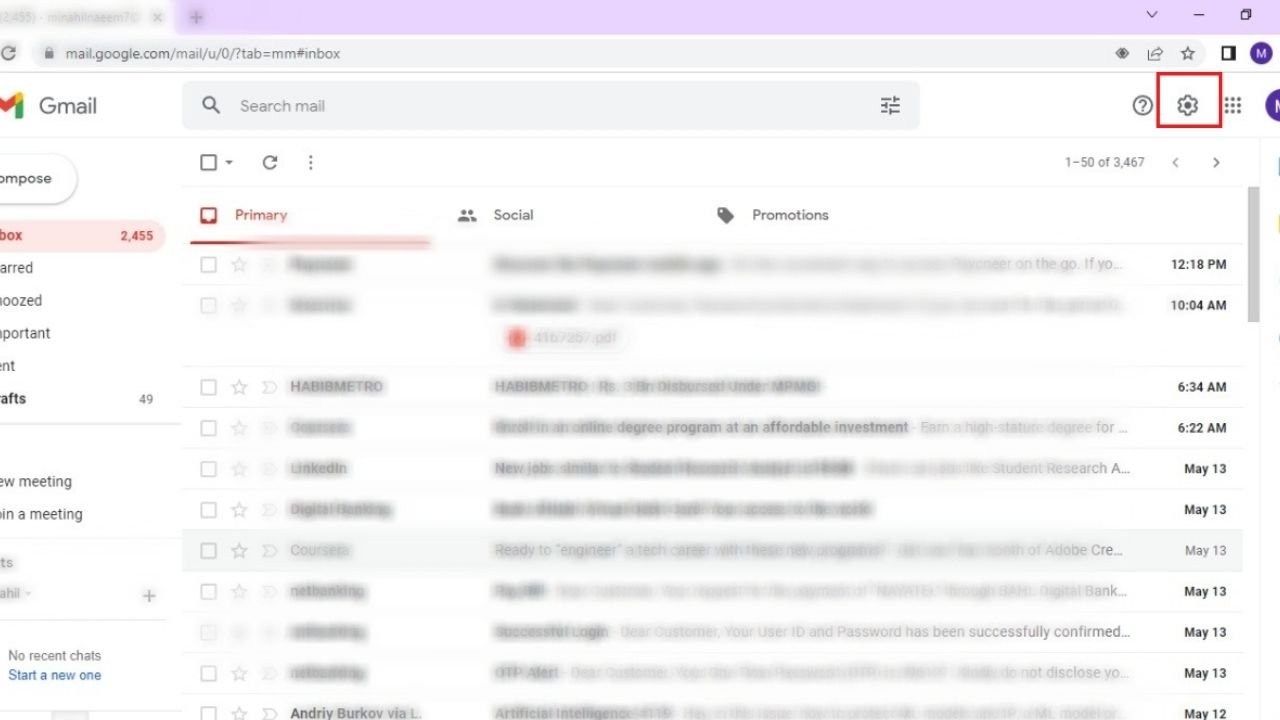
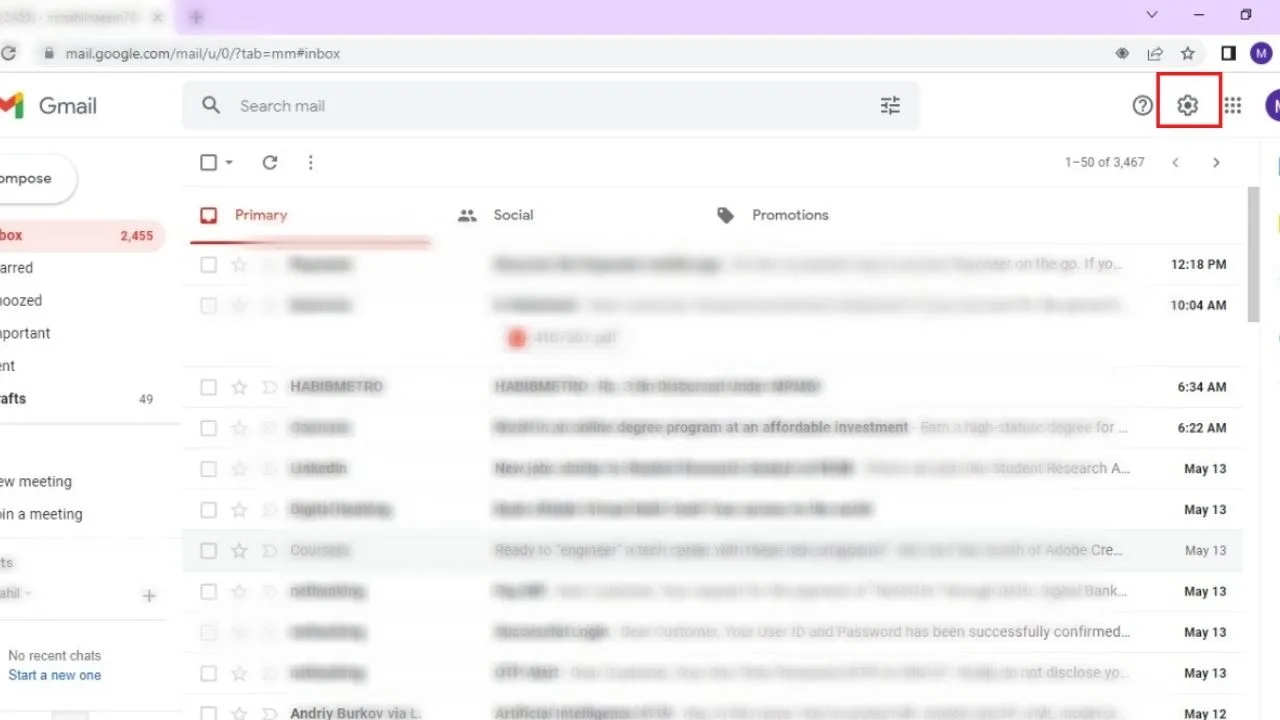
- Open mail.google.com on your browser.
- Click on the Settings (gear icon) on the top right corner > Tap “See all settings”.
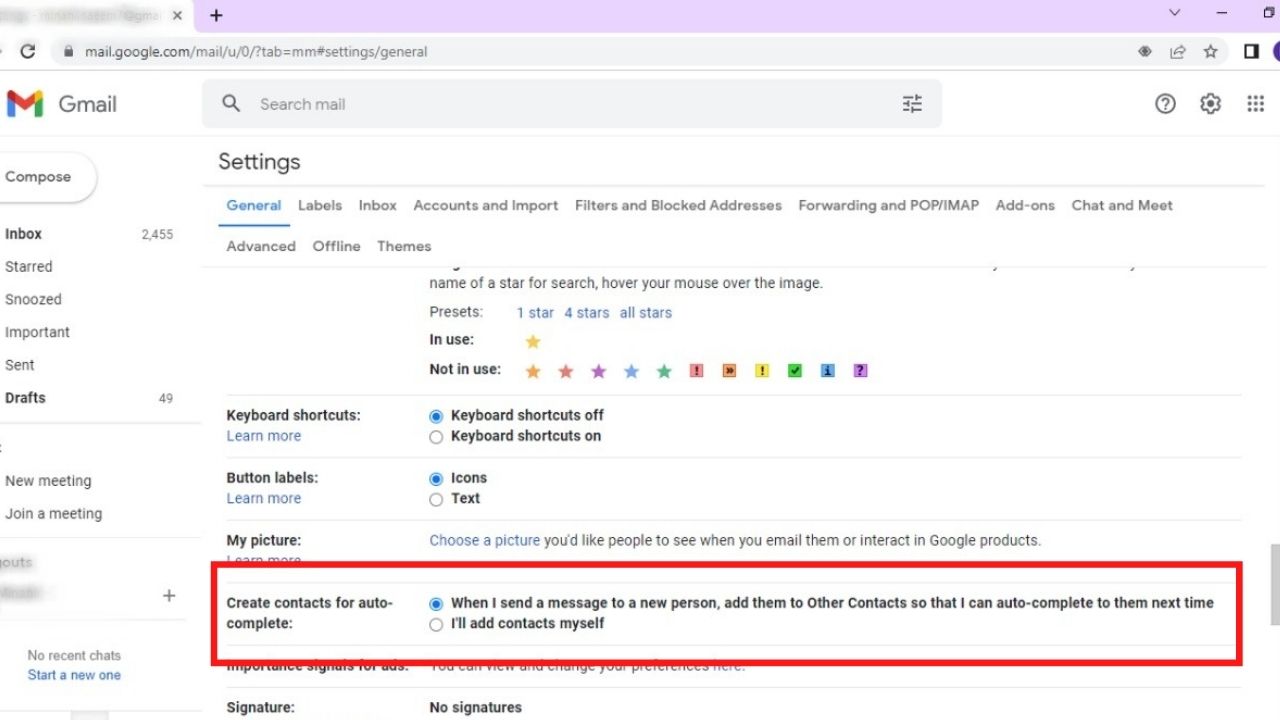
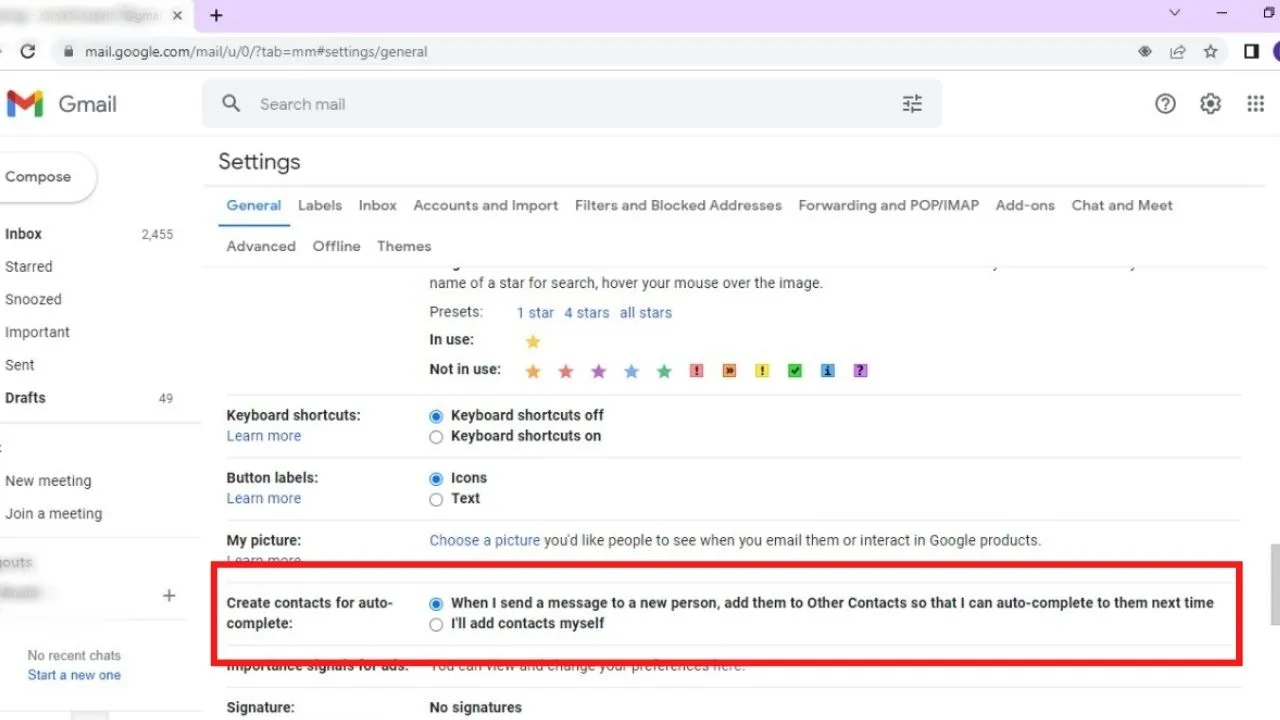
- Scroll down under the General tab to find the ‘Create contacts for auto-complete option’.
- By default, the first option is selected, where Gmail will store the email address of every person you email and suggest them as an autofill option.
- Select ‘I’ll add contacts myself’, to prevent Gmail from saving any new email addresses.
- Log out and sign in again to your Gmail account.
When you email a new person after this, their email address will not be saved and later appear in the drop-down menu of suggested email addresses.
How do I get my email address to autofill?
You can use your specific email address to Autofill in different apps or forms. Let’s say you want to use your Gmail address for autofill.
- Start by opening the Settings app on your Android device.
- Navigate to the bottom and click on General management.
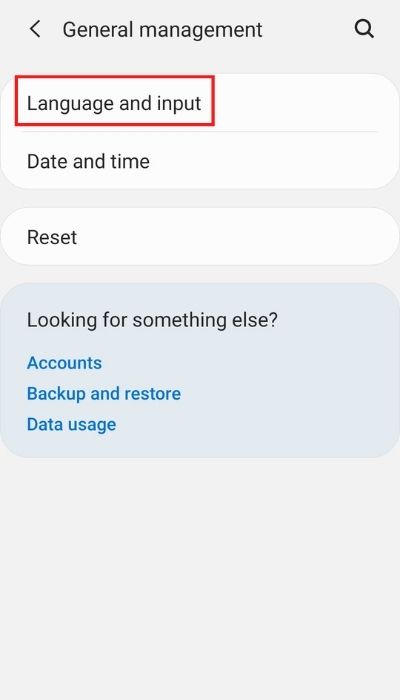
- Tap on Language and input.
- Scroll down to the “Autofill service” option. Tap this option to add your Google account as the default Autofill service.

The above steps are for Google but also apply to Last pass, Samsung pass addresses, etc.
How do I change my Autofill address on my Samsung?


Samsung phones usually have an Autofill address in the chrome app or their default Autofill services. Here’s how you can edit the address in both these locations.
Changing autofill address using the settings app
- Open the Settings app on your Samsung phone.
- Click on “General management > “Language and input”.
- If you are using Google as the autofill service, tap on the gear or settings icon
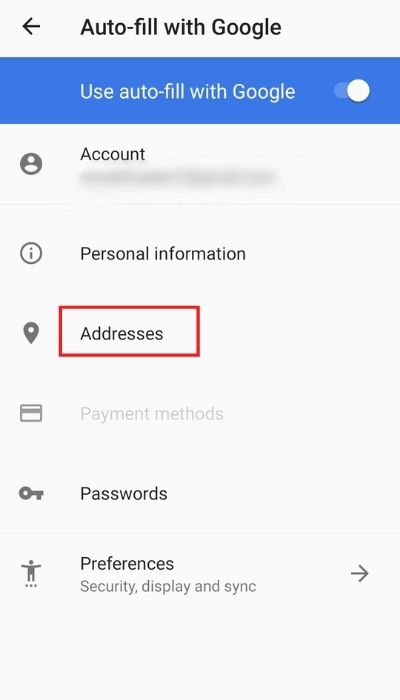
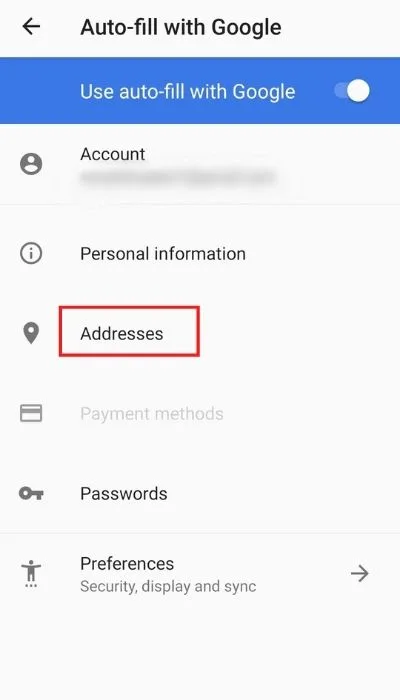
- Tap on “Addresses”.
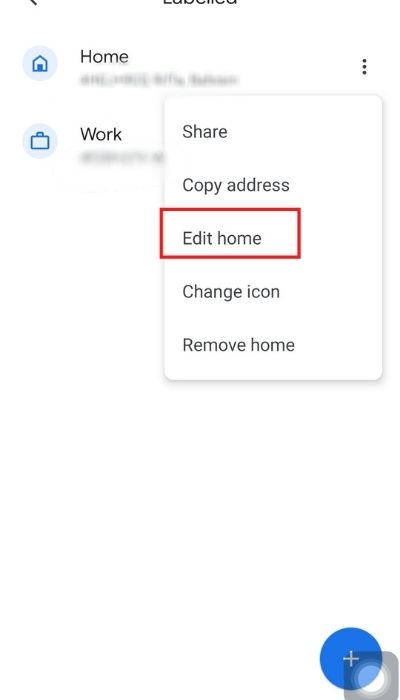
- Choose the address you want to update by clicking on the three dots on the right side.
- Click on edit to make changes.


To change addresses in the Chrome app, the steps given in How do I change my autofill email address in Android Chrome above.
You can also edit the address field and tap Done.
How do I delete auto-saved usernames in Chrome?
If you are using the autofill feature, Chrome will automatically save certain usernames, email addresses, and other sensitive data. You might want to delete such data e.g. for privacy or security reasons.
1. Delete single username
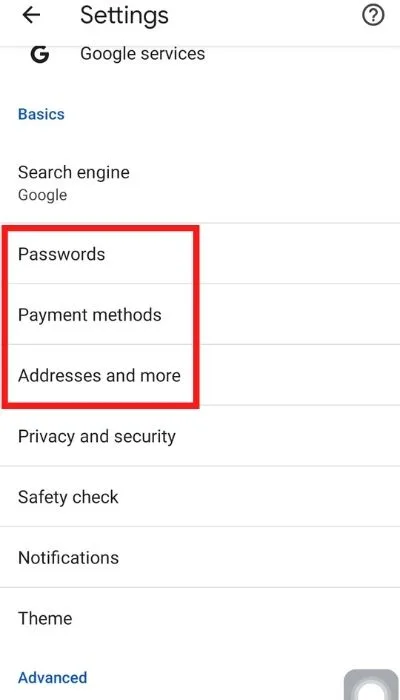
- Open the Chrome app on your Android device.
- Access the settings and tap either “Addresses and more”, Passwords, or “Payment methods”, depending on where the specific username is saved.
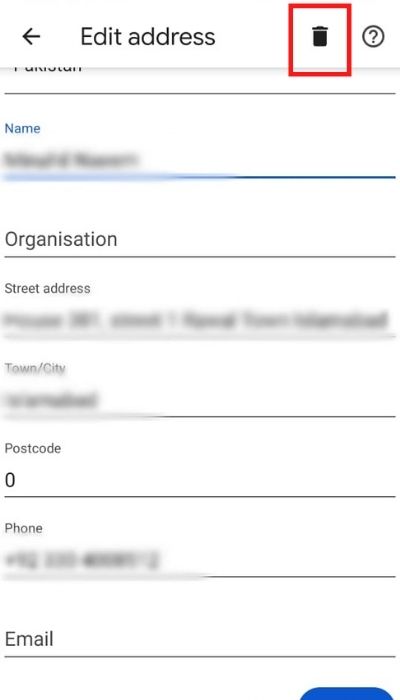
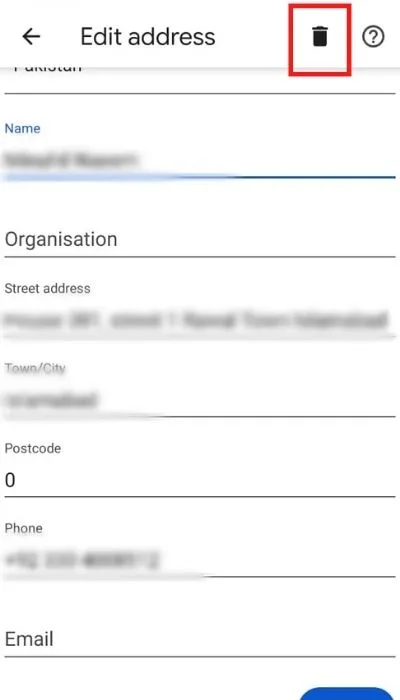
- Select the username you want to delete
- Tap the bin icon in the top right corner of the screen: this will remove the entry from the chrome app.
2. Delete all saved usernames
If you want to remove all the usernames or passwords in Chrome, use these step:
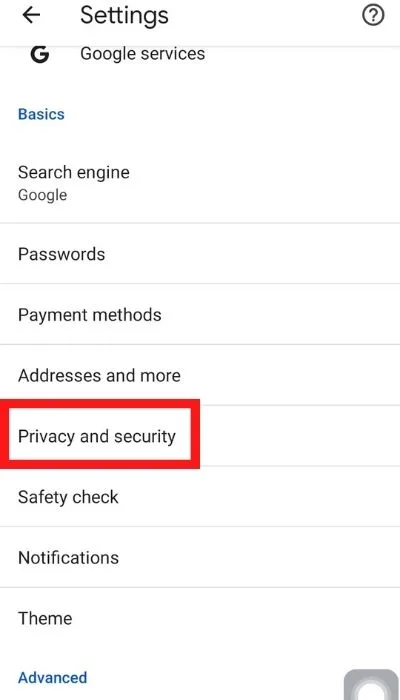
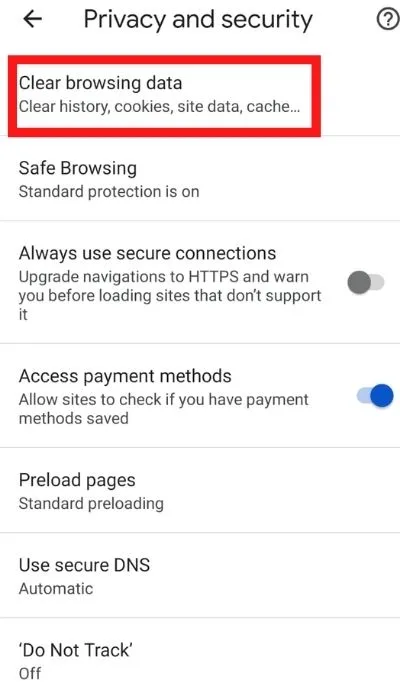
- Go to settings in the Chrome app.
- Choose “Privacy and security” > “Clear browsing data”.
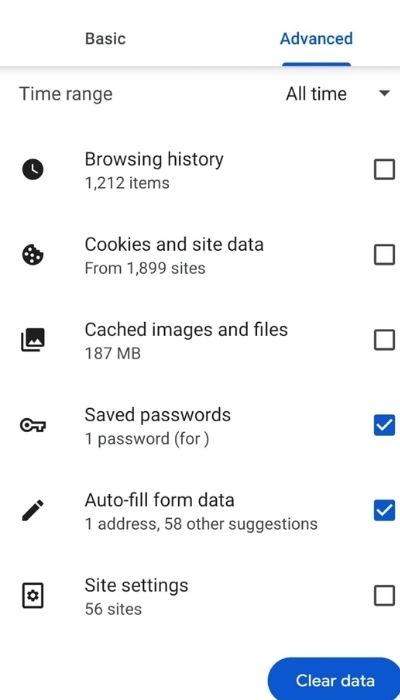
- Go to “Advanced settings” and select both “Saved passwords” and “Autofill form data”.
- Make sure you set the Time range to “All time”.
- Tap on” Clear data” at the bottom of the screen to proceed and remove multiple auto-saved usernames.


Why is someone else’s name in my autofill?
Seeing an unknown name in your autofill can raise security concerns. Here are a few possible reasons behind this.
- You are using a password manager, which might have stored the credentials for that specific name.
- That specific name was used in a saved form on your device, and such information is not site-specific. There is a possibility of form data information showing on unrelated websites.
- Someone may have used your device or an app on your device at some point, and the information was stored using the autofill feature.